JBoss Tools 4.1.1 and JBoss Developer Studio 7.1 were released 2 days ago. This release is built on top of Eclipse Kepler 4.3.1, came in less than 6 months from the previous one, has 500+ bug fixes and some nice features.
- Improved hybrid mobile tooling with support for Apache Cordova using Aerogear
- More support for OpenShift 2.0
- Content assist on Angular.js attributes and resource content
What is the difference between JBoss Tools and JBoss Developer Studio ?
JBoss Tools is a set of plugins for Eclipse that complements, enhances and goes beyond the support that exists for JBoss and related technologies in the default Eclipse distribution.
JBoss Developer Studio is a fully bundled Eclipse distribution which not only includes the majority of JBoss Tools but also all its needed dependencies and 3rd party plugins allowing for an easy one-click and no-fuss installation.
If you are into doing your own bleeding edge Eclipse plugin assembly, JBoss Tools is for you; if you are more into having something that “Just Works” then JBoss Developer Studio is the way to go.
I took JBoss Tools for a ride and tried Java EE samples on WildFly. Here are the steps for the same:
- Downloaded Eclipse IDE for Java EE Developers. Ignore this step if you already have Eclipse Kepler 4.3.1 for Java EE.
- Drag and Drop the button in Eclipse to install the tools
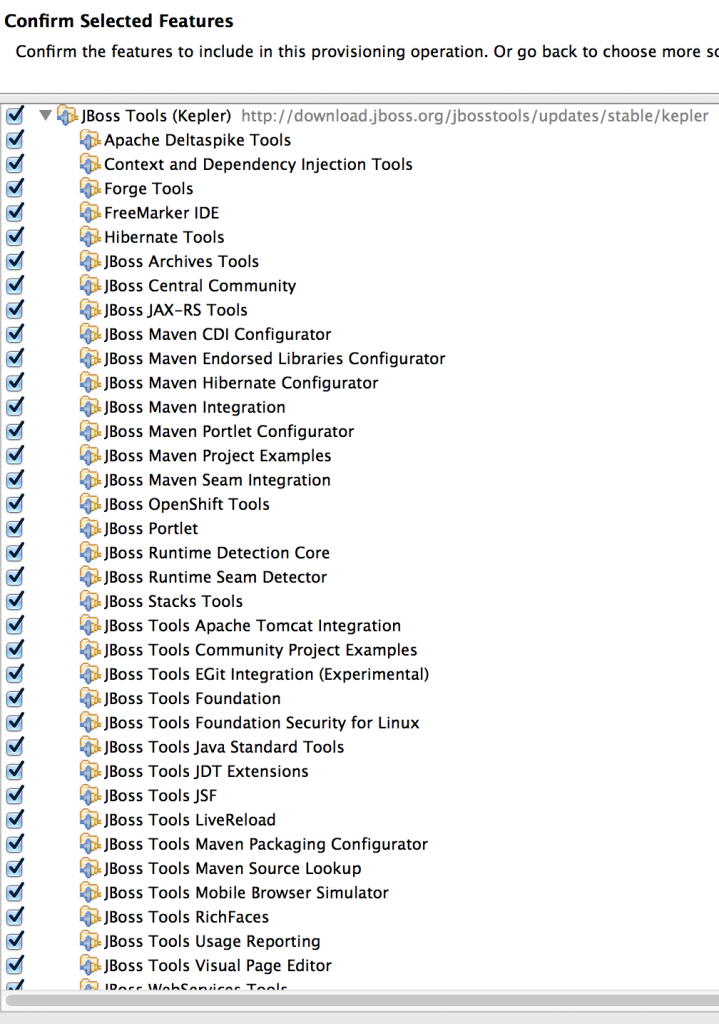
 . There are other usual methods to install as well but I found this extremely convenient.Dropping the button shows the following screen:
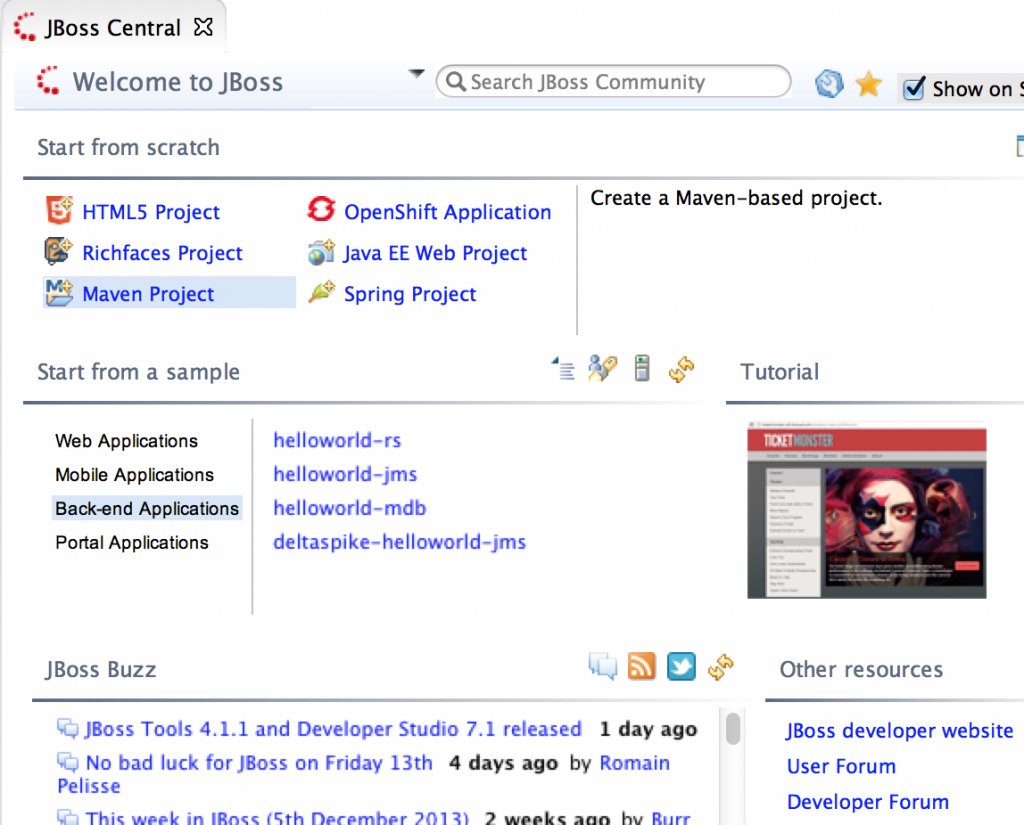
Follow the instructions to complete the installation. Restarting the Eclipse shows the following screen:
And that shows a successful installation.
- Click on the “Servers” tab, click on “Click this link to create a new server…”
 Select “WildFly” and click on “Next>”. Use Tech Tip #1 to install WildFly locally on your machine. Specify the WildFly location on next screen:
Click on the second “Browse…” button to select an appropriate profile. Click on “Finish” to complete WildFly installation.
- Right-click on the selected server and click on “Start” to start WildFly.

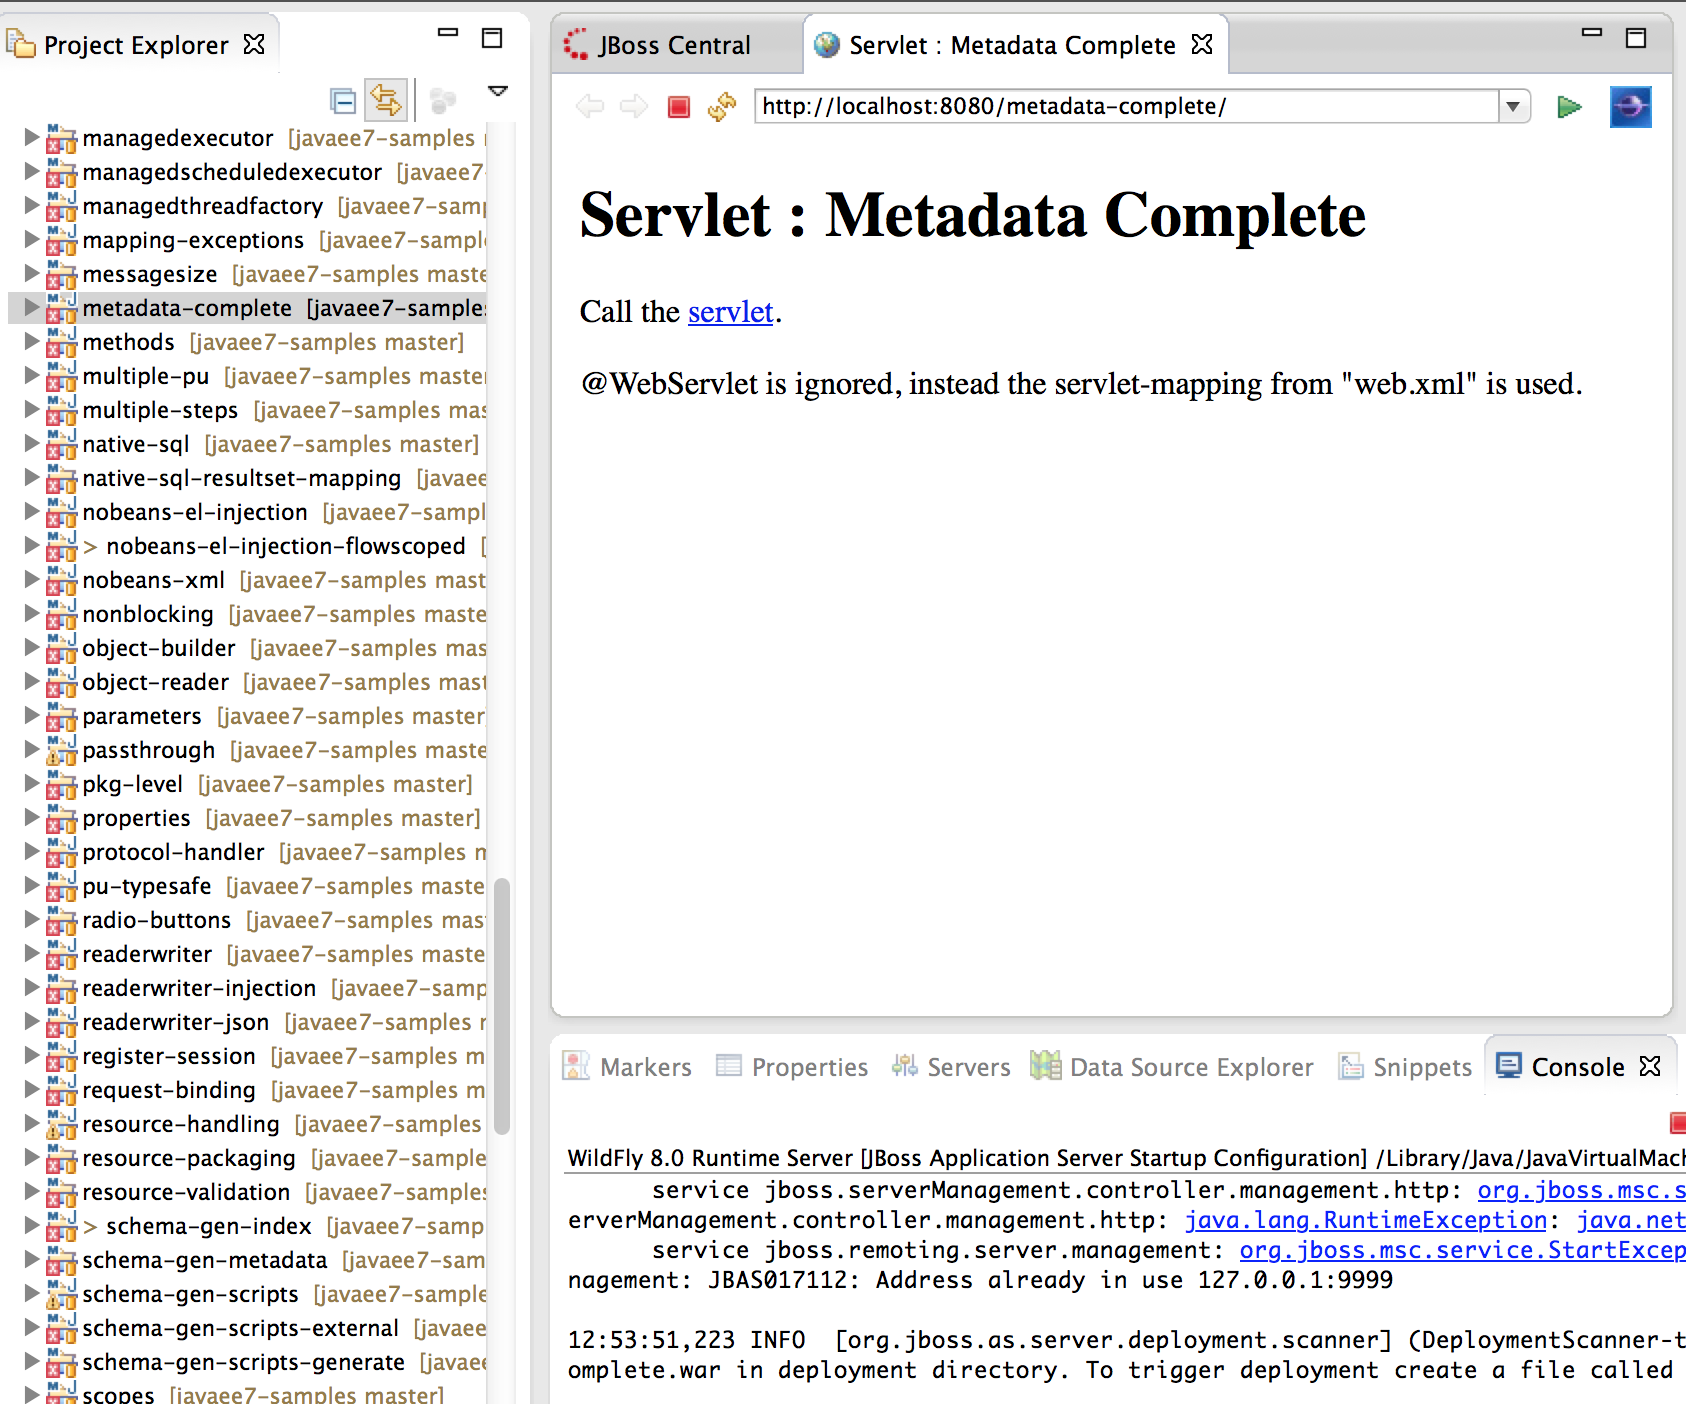
- Check out Java EE samples and import them in Eclipse. Select any project, right-click on it and select “Run on Server”. Choose the WildFly server to see the output as:
And now you’ve a Java EE 7 sample running on WildFly using JBoss Tools!
Here are some resources:
- JBoss Developer Studio Getting Started Guide
- New and Noteworthy features
- Ask a question on forums, @jbosstools, or file an issue on JIRA
Have fun!


Hi Arun
great writeup.
btw. the release blog of JBoss Tools 4.1.1 and JBoss Developer Studio 7.1 is here: https://community.jboss.org/en/tools/blog/2013/12/16/jboss-tool-411-and-jbds-71-released. It’ll give you an overview of the new and noteworthies in this release.
Cheers
André
ps. keep us posted about your impressions/bugs/shortcomings. Very valuable feedback!
Hi Andre,
The release blog is the very first hyperlink in the blog
Arun
Hi Arun,
Nice summary about the different components involved in client server frameworks to build mobile applications. I like your blog a lot and have a question:
What is the major difference to your opinion when using the RedHat/Jboss/Aerogear approach compared to Oracle’s Project Avatar? (For mobile client server interaction)
Best regards, Bart
Hello Bart,
Arun asked me to provide a response to your inquiry…”the major difference to your opinion when using the RedHat/Jboss/Aerogear approach compared to Oracle’s Project Avatar”.
JBoss by Red Hat’s Aerogear (aerogear.org) project is focused client-side SDKs and a few server-side Java EE-based services. On the client, you will get an Aerogear.js for the Cordova/Phonegap/Web developer and an Objective-C lib and Android lib for the native developers. The primary goal of these client libraries is to make integration with the server much easier. It is easy to connect an Aerogear client up with JAX-RS endpoints as an example. On the server-side, Aerogear provides a Java-based push service that handles both APNS & GCM simultaneously, this allows you to send native push notifications to both iOS and Android devices with a single command.
So in a nutshell, average Aerogear client might be JavaScript or Objective-C (or Android Java) and average Aerogear service is likely to be JAX-RS+JPA or the Java-based APNS/GCM solution.
I have not personally spent hands-on time with Project Avatar but I think the website (avatar.java.net) describes it nicely – Avatar has focused on adding a JavaScript engine on the server-side and integration of various Java EE services with that JavaScript engine.
Avatar and Aerogear could be quite complimentary.
A more apples to apples comparison between Avatar and something JBoss/Red Hat would be Avatar vs Vert.x – a async, real-time, polyglot application server – it allows you to run Java & JavaScript in the same server-side container.
Burr