JRebel allows you to skip build and redeploy process by instantly deploying your application to the application server of your choice. It is supported in all the major IDEs such as NetBeans, Eclipse, and IntelliJ. It is also supported in a wide variety of application servers such as JBoss EAP, WildFly, WebLogic, WebsFear (err, WebSphere), Tomcat, and many others.

You can easily get started with JRebel in JBoss Developer Studio or Integrate JRebel with JBoss on your local desktop. It can also be easily used with JBoss Developer Studio and Ticket Monster on OpenShift.
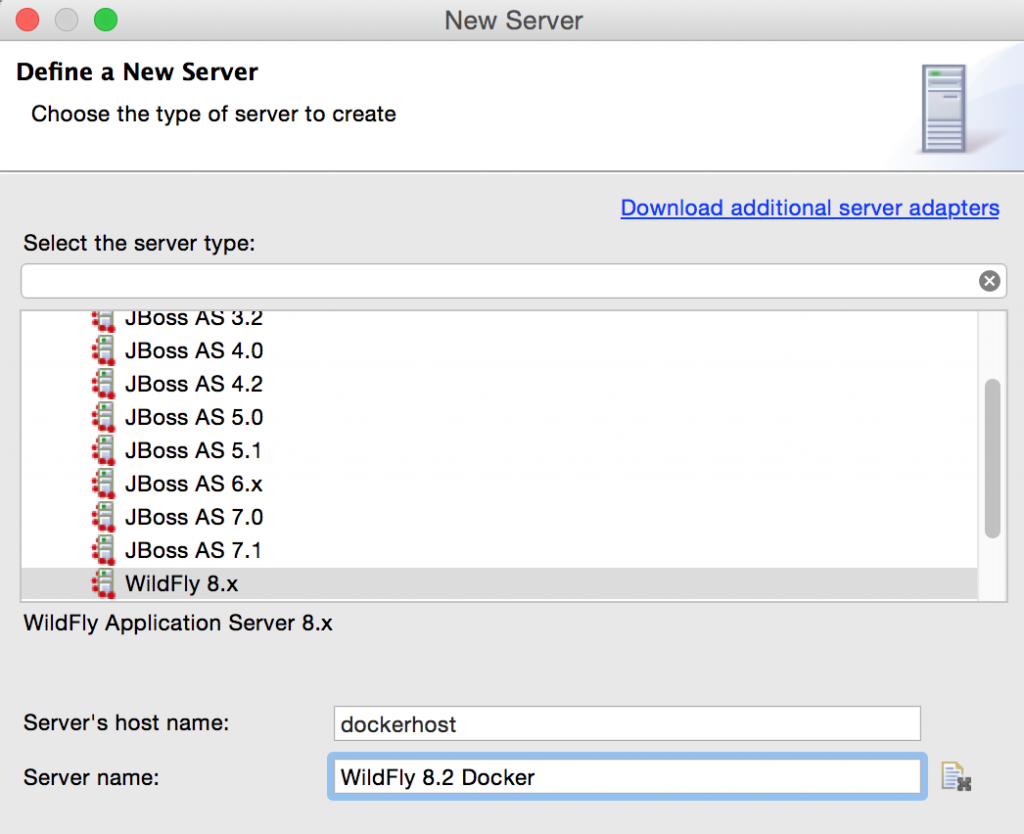
This Tech Tip will explain how do you set up JRebel with Docker containers. Specifically, we’ll use the sample application provided by Java EE 7 Hands-on Lab (jrebel branch), JBoss Tools with Eclipse Mars M5, and running the sample application in WildFly Docker container.
Many thanks to Adam Koblentz (@akoblentz) for helping me through the steps!
Lets get started!
Install JRebel in Eclipse
JRebel runs in three modes:
- Local: App server is running from inside the IDE
- External: App server is running from outside the IDE, such as using CLI, but on the same machine
- Remote: App server is running on a different machine, VM, container, or cloud
Docker containers need to be configured using the “remote” mode.
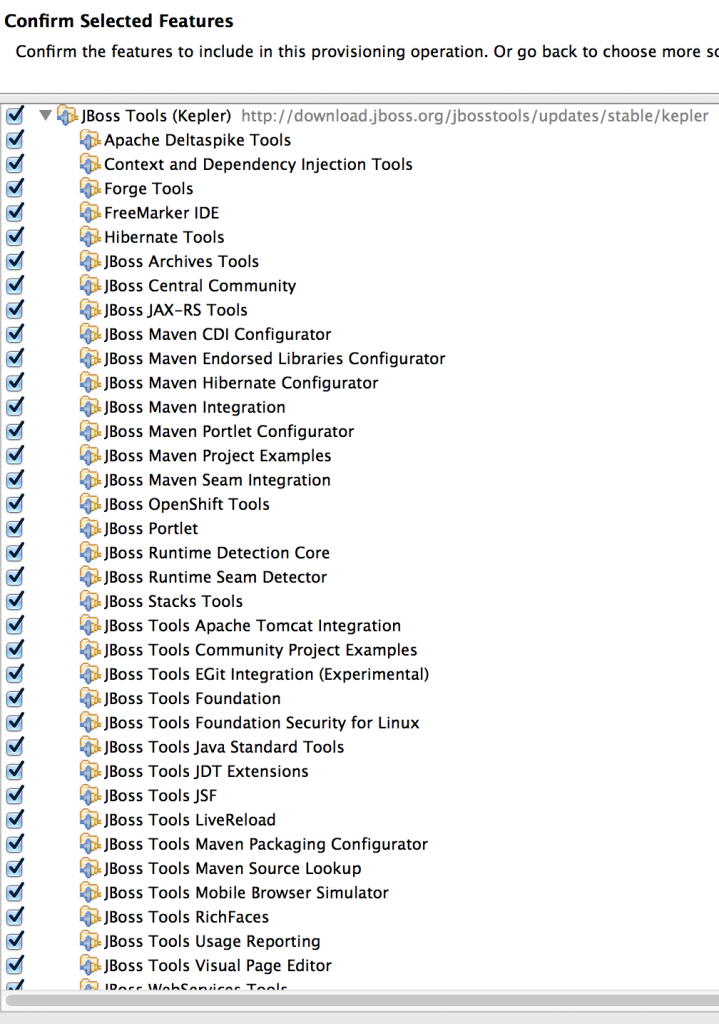
- Install JBoss Tools as explained at tools.jboss.org/downloads/. JRebel’s remote mode can only be enabled using the IDE. Install JRebel plugin from Eclipse Marketplace.
Package rebel.xml and rebel-remote.xml with the WAR
These files define the location of classes and resources in your archive.
- Clone the Java EE 7 HOL repo:
123git clone https://github.com/javaee-samples/javaee7-hol.git - Import the Maven project (from the
solutiondirectory) in the IDE, right-click on the project, select JRebel menu, and click on “Enable JRebel Nature”. This will generaterebel.xmlinsrc/main/resourcesdirectory and would look something like:
1234567891011121314151617181920212223<?xml version="1.0" encoding="UTF-8"?><application xmlns:xsi="http://www.w3.org/2001/XMLSchema-instance" xmlns="http://www.zeroturnaround.com" xsi:schemaLocation="http://www.zeroturnaround.com http://www.zeroturnaround.com/alderaan/rebel-2_0.xsd"><classpath><dir name="/Users/arungupta/workspaces/javaee7-hol/solution/movieplex7/target/classes"></dir></classpath><web><link target="/"><dir name="/Users/arungupta/workspaces/javaee7-hol/solution/movieplex7/target/m2e-wtp/web-resources"><exclude name="/"/></dir></link><link target="/"><dir name="/Users/arungupta/workspaces/javaee7-hol/solution/movieplex7/src/main/webapp"></dir></link></web></application> - Right-click on the project again, and select “Enable Remoting”. This generates
rebel-remote.xml, insrc/main/resourcesdirectory again, and will look like:
This needs to be done on the machine where JRebel will be used in the IDE. This will ensure that the public key is generated appropriately.1234567<?xml version="1.0" encoding="UTF-8"?><rebel-remote><id>movieplex7</id><publicKey>XXXXXXX</publicKey></rebel-remote> - Package your application as
This will package123mvn packagerebel.xmlandrebel-remote.xmlin the WAR file.
Configure and Run the Application Server
Application server needs to know about JRebel agent and platform-specific library. Both of these files are available from Eclipse if JRebel was installed earlier. On Mac these files are available in eclipse/mars/m5/eclipse/plugins/org.zeroturnaround.eclipse.embedder_6.1.1.RELEASE-201503121801/jr6/jrebel/ directory. The exact name would very likely differ in your case.
- Build the image using the Dockerfile:
The key parts in this image are:123456789101112FROM jboss/wildflyCOPY jrebel.jar $JBOSS_HOME/jrebel.jarCOPY libjrebel64.so $JBOSS_HOME/libjrebel64.soRUN echo "JAVA_OPTS=\"\$JAVA_OPTS -Drebel.remoting_plugin=true -agentpath:\$JBOSS_HOME/libjrebel64.so\"" >> $JBOSS_HOME/bin/standalone.confCMD ["/opt/jboss/wildfly/bin/standalone.sh", "-c", "standalone-full.xml", "-b", "0.0.0.0"]RUN curl -L https://github.com/javaee-samples/javaee7-hol/blob/jrebel/solution/movieplex7-1.0-SNAPSHOT.war?raw=true -o /opt/jboss/wildfly/standalone/deployments/movieplex7-1.0-SNAPSHOT.war- Using the official jboss/wildfly Docker image
- Copying the JRebel agent and platform-specific library to the image
- Configuring application server such that it knows about the “remote” mode and platform-specific library
- Start WildFly
- Downloads the pre-built WAR file from GitHub. This will not work for you, and you’ll need to replace it with something like:
This WAR file is the same that was generated earlier.123COPY movieplex7-1.0-SNAPSHOT.war $JBOSS_HOME/standalone/deployments/moviexplex7-1.0-SNAPSHOT.war
- Actually build the image as:
123docker build -t javaee7-hol . - Run the container as:
and this should show something like:123docker run -it -p 8080:8080 javaee7-hol
JRebel license information is a good sign that everything is configured properly.123456789101112131415161718192021222324JAVA_OPTS: -server -Xms64m -Xmx512m -XX:MaxPermSize=256m -Djava.net.preferIPv4Stack=true -Djboss.modules.system.pkgs=org.jboss.byteman -Djava.awt.headless=true -Drebel.remoting_plugin=true -agentpath:/opt/jboss/wildfly/libjrebel64.so=========================================================================Mar 18, 2015 8:37:30 PM java.util.prefs.FileSystemPreferences$1 runINFO: Created user preferences directory.2015-03-18 20:37:40 JRebel:2015-03-18 20:37:40 JRebel: #############################################################2015-03-18 20:37:40 JRebel:2015-03-18 20:37:40 JRebel: JRebel Agent 6.1.1 (201503111716)2015-03-18 20:37:40 JRebel: (c) Copyright ZeroTurnaround AS, Estonia, Tartu.2015-03-18 20:37:40 JRebel:2015-03-18 20:37:40 JRebel: Over the last 1 days JRebel prevented2015-03-18 20:37:40 JRebel: at least 0 redeploys/restarts saving you about 0 hours.2015-03-18 20:37:40 JRebel:2015-03-18 20:37:40 JRebel: Server is running with JRebel Remoting.2015-03-18 20:37:40 JRebel:2015-03-18 20:37:40 JRebel:2015-03-18 20:37:40 JRebel: #############################################################2015-03-18 20:37:40 JRebel:20:37:46,219 INFO [org.jboss.modules] (main) JBoss Modules version 1.3.3.Final20:37:47,340 INFO [org.jboss.msc] (main) JBoss MSC version 1.2.2.FinalIf you used Docker Machine to Setup Docker Host then the application should now be accessible at 192.168.99.100:8080/movieplex7/.
Configure Eclipse
Last step is to configure Eclipse so that it knows where the application is deployed.
- In Eclipse, right-click on the project, select JRebel, Advanced Properties
- Click on “Edit” on next to “Deployment URLs”
- Click on Add and specify the URL of the application, 192.168.99.100:8080/movieplex7/ in our case.
- Click on Continue, Apply, OK.
Voila, the configuration is now complete.
Now changing any class, adding any method, updating any entity or HTML or JSF page will push the changes to the Docker container instantly. No need to redeploy the application.
Enjoy!


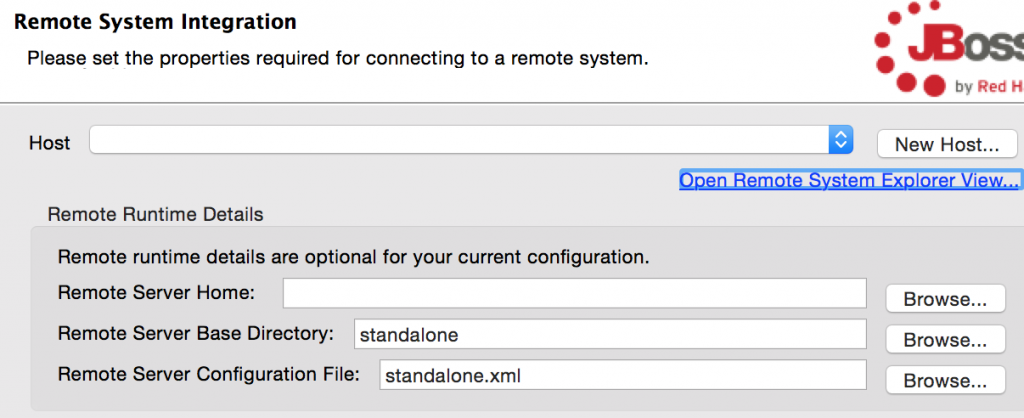


 . There are other usual methods to install as well but I found this extremely convenient.Dropping the button shows the following screen: