The Eclipse community’s WTP release with Java EE 6 support has been delayed to Jun 2010. So how do you do Java EE 6 development in Eclipse until then ?
The GlassFish team is trying to bridge the gap by adding new Java EE 6 wizards that allows you to create Servlet 3.0- (JSR 315) and EJB 3.1- (JSR 318) compliant artifacts. So for the first time, in Eclipse, a Java EE 6 application can be created using the GlassFish plugin for Eclipse (ver 1.0.32)! GlassFish v3 is the Java EE 6 in making and so Eclipse and GlassFish v3 together provides you a good environment for your Java EE 6 development.
This Tip Of The Day (TOTD) explains how to use those wizards using Eclipse 3.4.2. If you have an earlier version of plugin already installed then update it as described in TOTD #66. Make sure to use ver 1.0.33 (recently released) if you are using Eclipse 3.5.x. If you have an earlier version of GlassFish plugin installed, then you may have to start Eclipse with "-clean" flag, basically as "eclipse -clean", after updating the plugin. This will allow the environment to detect the new plugins.
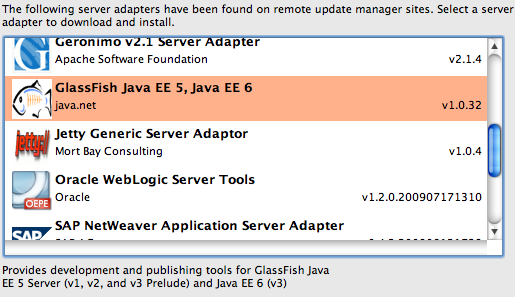
- Using Eclipse 3.4.2, install the latest GlassFish Eclipse plugin (ver 1.0.32 or higher) in "Eclipse IDE for Java EE developers" as explained in screencast #28. The correct version snapshot is shown below:
Install latest GlassFish v3 promoted build (62 as of this writing):
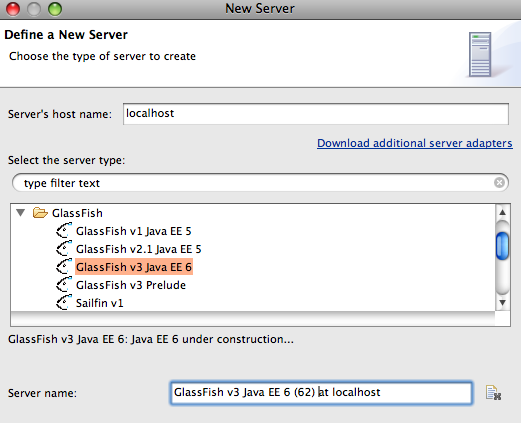
specify the location:

and click on "Finish" to complete the install. Make sure to select "JVM 1.6.0" as the Java Runtime Environment as that is the minimum requirement for GlassFish v3.
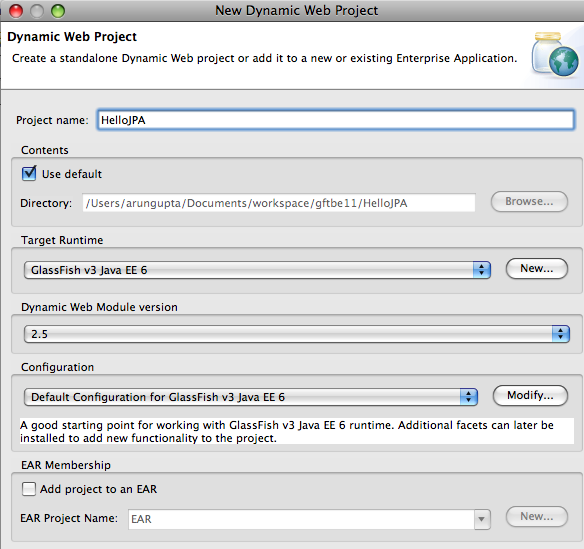
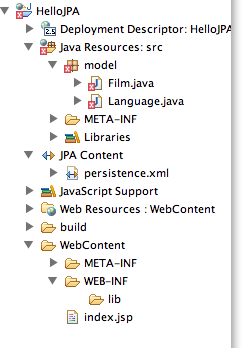
- Create a new "Dynamic Web Project" named "ee6".
- Add Servlet 3.0 using wizard
- Right-click on the project, select "New", "Other …", expand the "GlassFish" section and select "Web Servlet (Java EE 6)" as shown below:
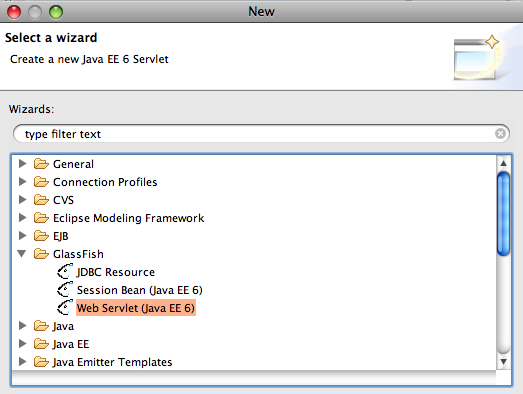
and click on "Next >".
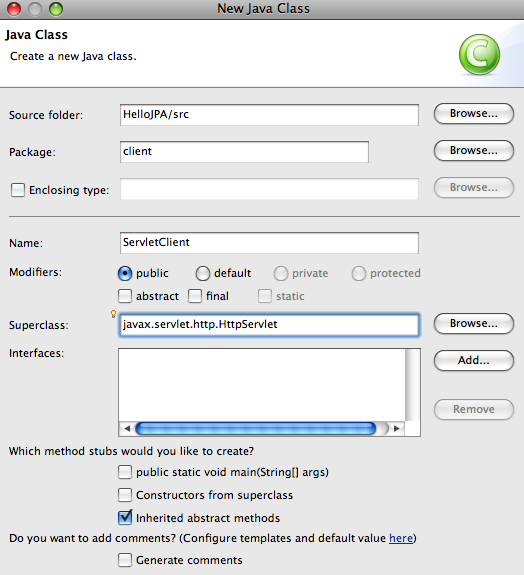
- Specify the package name as "server" and servlet name as "HelloServlet" as shown below:
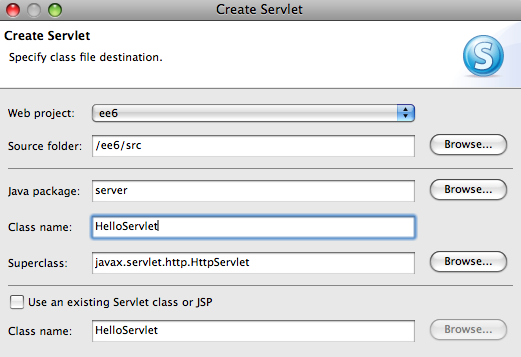
and click on "Finish".
- The generated code looks like as shown:
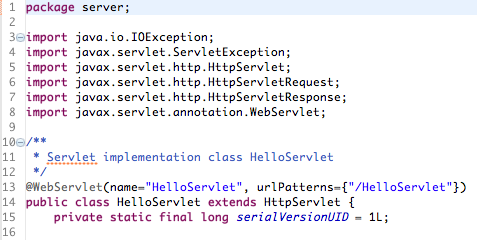
Notice the usage of "javax.servlet.annotation.WebServlet" annotation to specify the servlet name and url pattern. Also note that no new entries are made in "WEB-INF/web.xml".
- Add a new method in the code as:
protected void doProcess(HttpServletRequest request, HttpServletResponse response) throws IOException {
        ServletOutputStream out = response.getOutputStream();
        out.print("<html><body>");
        out.print("Request received at: " + request.getContextPath());
        out.print("</body></html>");
  }
and invoke this method from both doGet(…) and doPost(…).
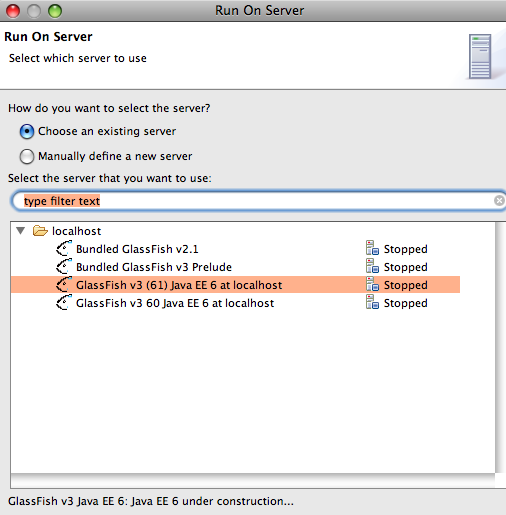
- Right-click the project, select "Run As", "Run on Server" and select the recently added GlassFish server as shown below:
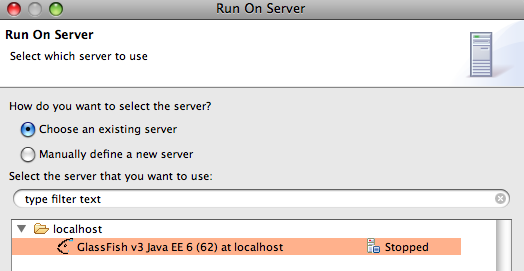
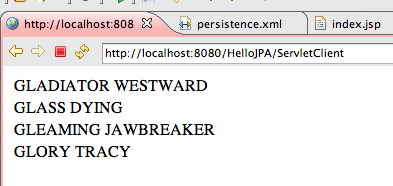
and click on "Finish". This shows the default page "http://localhost:8080/index.jsp". Change the URL to "http://localhost:8080/ee6/HelloServlet" to see the output as:
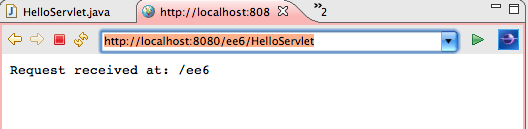
- The "web.xml" and "sun-web.xml" can be conveniently deleted from "WebContent", "WEB-INF" and the deployed page will continue to function as expected because all the information is captured in annotations instead of the deployment descriptors.
- Right-click on the project, select "New", "Other …", expand the "GlassFish" section and select "Web Servlet (Java EE 6)" as shown below:
- Add an EJB 3.1-compliant session bean
- Select "New", "Other …", expand the "GlassFish" section and select "Session Bean (Java EE 6)" as shown below:
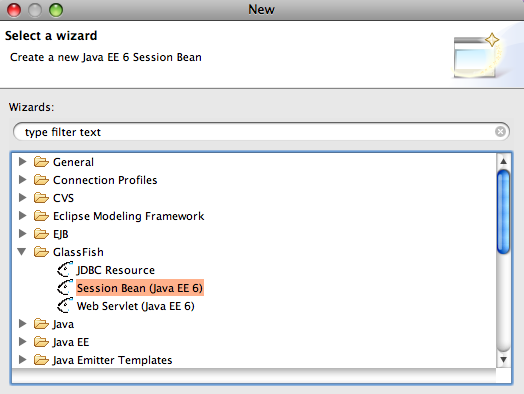
The important difference to note is that using this new wizard an EJB can now be packaged in a Web project instead of creating a separate "EJB Project".
- Specify the package name as "server" and class name as "HelloBean" as shown below:
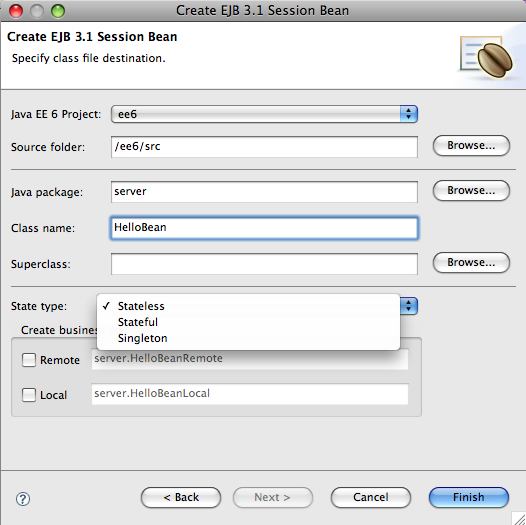
The bean type can be chosen from "Stateless", "Stateful" or "Singleton" and appropriate annotations are added accordingly and click on "Finish".
- Add a simple method to the generated bean as:
public String sayHello(String name) { return "Hello " + name; } - Inject a client in the servlet as:
@EJB HelloBean bean;and call the business method on EJB as:
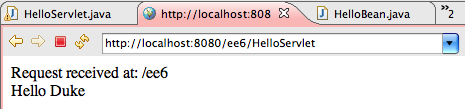
protected void doProcess(HttpServletRequest request, HttpServletResponse response) throws IOException {
        ServletOutputStream out = response.getOutputStream();
        out.print("<html><body>");
        out.print("Request received at: " + request.getContextPath());
        out.print("<br>" + bean.sayHello("Duke"));
        out.print("</body></html>");
 }
and see the response as:
This new EJB wizard is different from the one that already exists in Eclipse in the following ways:
- Singleton session bean can be created
- Local interface is off by default
- Allows a session bean in a Web project
- Simplified wizard flow
- Select "New", "Other …", expand the "GlassFish" section and select "Session Bean (Java EE 6)" as shown below:
So we built a Java EE 6 application using the newly added Servlet 3.0 and EJB 3.1 wizards in GlassFish Plugin for Eclipse.
Please send your feedback and questions to . Let us know what other Java EE 6 features you’d like to see in Eclipse.
A complete archive of all the tips is available here.
Technorati: totd glassfish v3 eclipse javaee servlet3 ejb