WildFly is a lightweight, extremely flexible, highly manageable, Java EE 7 compliant, open source Application Server. Raspberry Pi (a.k.a. Raspi) is a credit-card sized computer that plugs into a computer monitor or TV, and uses a standard USB keyboard and mouse. It was created with the intention of promoting teaching of basic computer science in schools.

This tech tip will show how you can get WildFly running on Raspberry Pi.
The latest model of Raspi is Model B that consists of:
- 512 MB RAM
- Two USB ports
- One ethernet port
Raspi does not come with a storage device, not even for the operating system. But there is a slot for SD card that can be used for booting and persistent storage.
So, what else do you need to get going ?
- One 8GB SD card
- SD card writer so that you can burn the operating system on the card, typically in-built on Macs
- Power supply to the unit, a 5V micro-USB connector
- HDMI cable for connecting to a monitor/TV. You may need an adapter depending upon what is being used for display
- USB mouse and keyboard. A wireless mouse and keyboard with a common USB dongle would be better (uses only one of the two USB ports)
- Wifi dongle or Ethernet cable
- Optionally, USB hub depending upon how many USB connections are made to Raspi
The original intention of Raspi was to promote teaching of basic computer science in schools. But people have all sorts of fun things with Raspi, including a super computer.
Lets get started!
- Easiest way to get started with Raspi is using New Out Of The Box Software (NOOBS). on SD card. The installation instructions are clearly documented here.
- Insert the prepared SD card, plugin the dongles and cables as shown. Make sure that the cable to laptop is connected after all others have been connected.

- The display flashes with lovely rainbow colors and then reads the card as shown:

- The list of operating systems that can be installed are shown. Choose Raspbian, the first and recommended option. Change the default language and keyboard to whatever is appropriate, US in my case. Click on “Install”.
 This warns that all the data on the card will be overwritten:

Clicking on “Yes” will start the Raspbian installation.


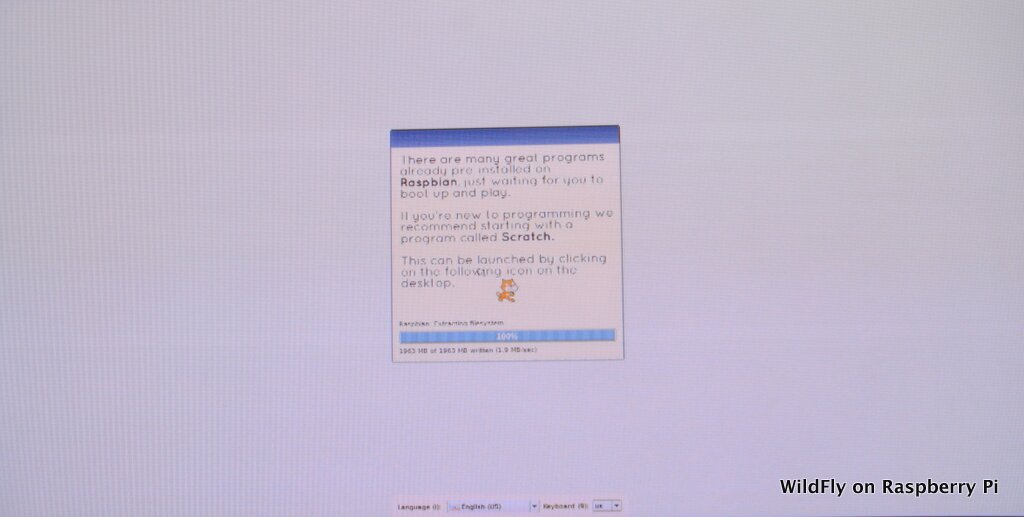
The following message is shown when operating system is completed installed:

Or a more close up view:

- Clicking on “OK” shows the following configuration menu:
 Use arrow keys to go through the menu until “Finish” is selected as shown:

This will bring you to the shell. Type “startx” to start the GUI which looks like as
shown:
- First step here is to configure Wi-Fi. Click on “Wifi Config” icon on the desktop to see the window as shown:

- Click on “Scan” to scan the list of network SSIDs that can be connected to. Another window pops up, click “Scan” again to see the list of network ids as:
 Double-click on the SSID that you can connect to see a window as:
I had to manually change the value of Authentication from “WPA2-Personal (PSK)” to “WPA-Personal (PSK)”. Enter the wireless password and click on “Add”. The following window should be shown:

- Open a terminal by clicking on “Terminal” on the desktop and check your network configuration looks good. Raspbian comes bundled with JDK 7 and you can check the version for that as well as shown:

- Download WildFly 8.1 CR2 (latest release as of today) by giving the following command in the shell:
123wget http://download.jboss.org/wildfly/8.1.0.CR2/wildfly-8.1.0.CR2.zip
Unzip WildFly as:
123unzip wildfly-8.1.0.CR2.zip - By default WildFly is configured to run in the server VM. Trying to run the default WildFly installation gives the following error:
1234Error occurred during initialization of VMServer VM is only supported on ARMv7+ VFP
This can be easily worked around by editing “wildfly-8.1.0.CR2/bin/standalone.sh” as:
123nano "wildfly-8.1.0.CR2/bin/standalone.sh"And removing line 214 and 215 which looks like:
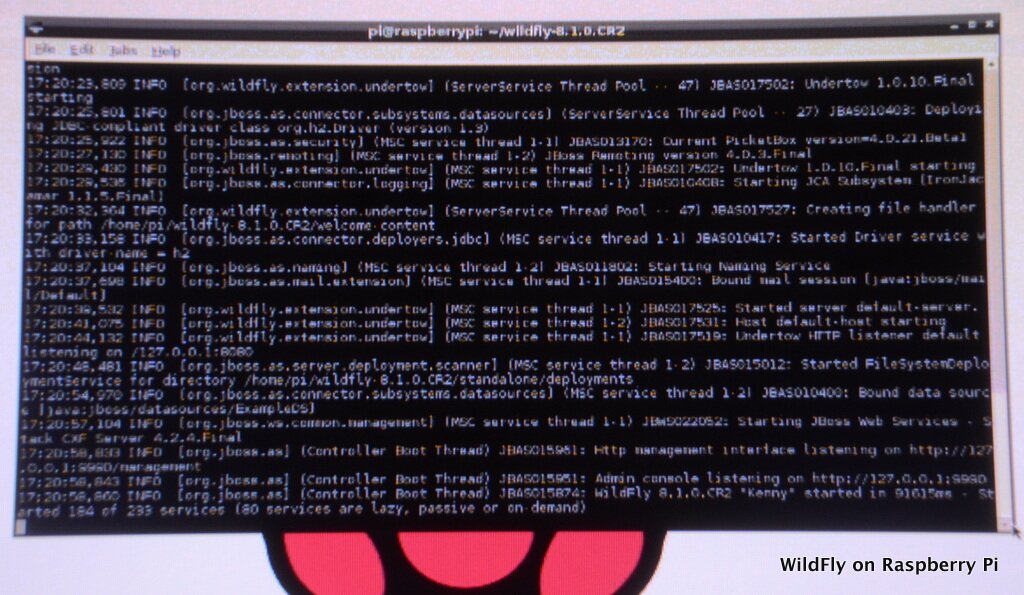
1234567213 PREPEND_JAVA_OPTS="$PREPEND_JAVA_OPTS -client"214 else215 PREPEND_JAVA_OPTS="$PREPEND_JAVA_OPTS -server"216 fi217 fiWildFly can now be easily started by giving the command “”wildfly-8.1.0.CR2/bin/standalone.sh” and shows the output as:
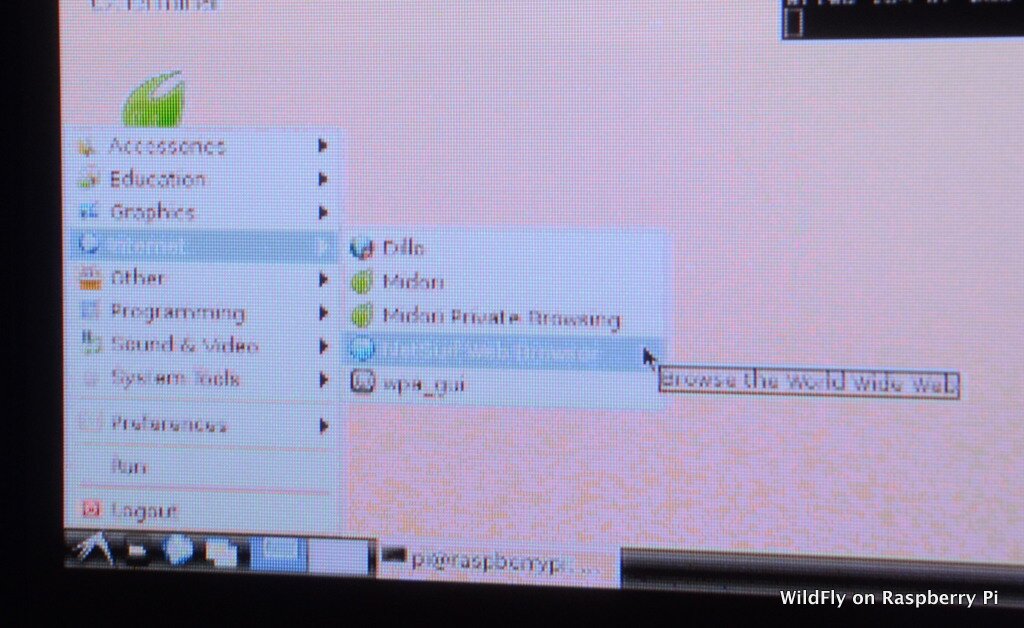
- NetSurf is the default browser that can be started by clicking on the start bar on bottom left, selecting Internet, and then “Net Surf Web” as shown:
 The browser looks like:

- Finally access the WildFly default home page at http://127.0.0.1:8080:

That’s it!
What crazy thing are you going to use WildFly and Raspberry Pi for now ? 


cool, thanks
This tutorial is very poor. Also it does not work
You are missing the type of Raspberry Pi, how to create users, how to allow it access remotely…
This article is ~2 years old and things have changed since then.
FWIW this is not a generic article on getting started with Raspberry Pi, its specifically targeted towards running WildFly cluster.
The type of the model is clearly highlighted to be Model B.
How to access web application from remote browser. It works only from localhost.
Thanks!
Thank you Arun for this tip. Seems too easy 😉
Btw. Andrea, id you still need help, you just have to customize the security parameters in standalone.xml ; the default behaviour is effectively restricted to localhost.
David.
I use wildfly 11 on the Pi (1G RAM running ubuntu) for libresonic (subsonic fork) to stream my music collection and also for a jenkins ci. Works great in combination with apache2 as proxy (letsencrypt certs for ssl) and a cheap free/domain provider like freenom (use freenom dns updater for dynamic ip).
I also have other stuff running like Kolab 16 groupware (own Mailserver, Calendar, Groups, Task, Notes – you need to build deb packages for arm platform though), Redmine, Gitlab and rsnapshot for backups of all machines in the local network.