Tag Archives: openshift

iPaaS Developer Preview: JBoss Fuse in OpenShift

An earlier blog explained Red Hat JBoss xPaaS as set of services for OpenShift that deliver Red Hat JBoss Middleware products in the cloud as services running on OpenShift. These services include mobile PaaS (mPaaS), integration PaaS (iPaaS), and BPM PaaS (bpmPaaS).

The first JBoss xPaaS service was mobile push notifications and was made available as a developer preview at https://www.openshift.com/quickstarts/aerogear-push-0x. More on this in a later blog.

Recently we announced developer preview of another key component – iPaaS.

iPaaS enables integration of multiple applications, components, services, and data sources using messaging technologies including service buses and message brokers. This is powered by Red Hat JBoss Fuse 6.1 which combines core Enterprise Service Bus capabilities (based on Apache Camel, Apache CXF, Apache ActiveMQ), Apache Karaf and Fuse Fabric in a single integrated distribution.

All details are available at JBoss Fuse cartridge page.

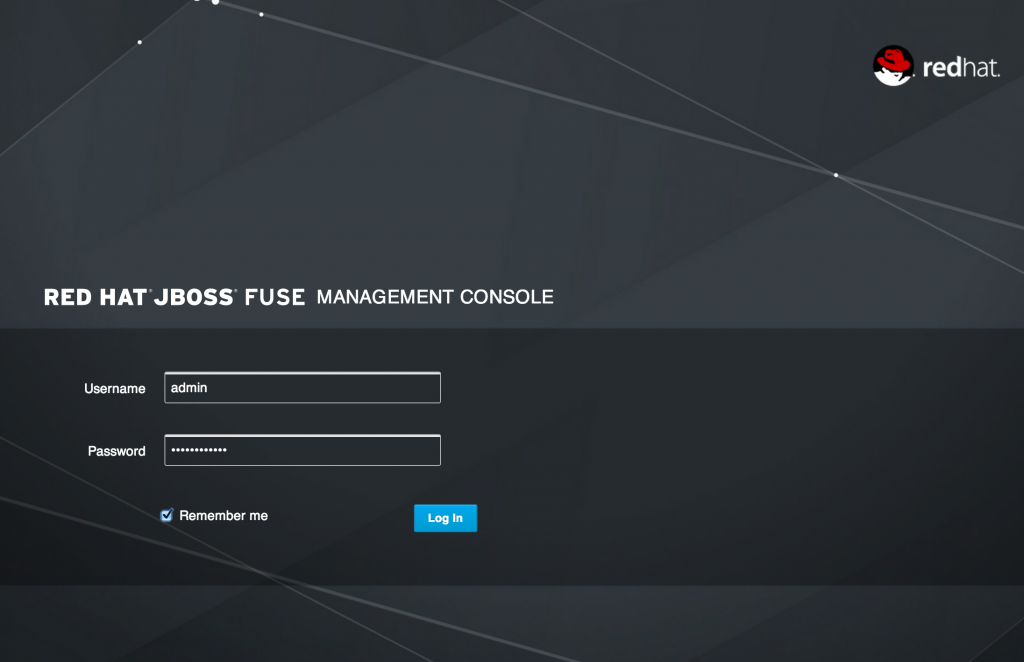
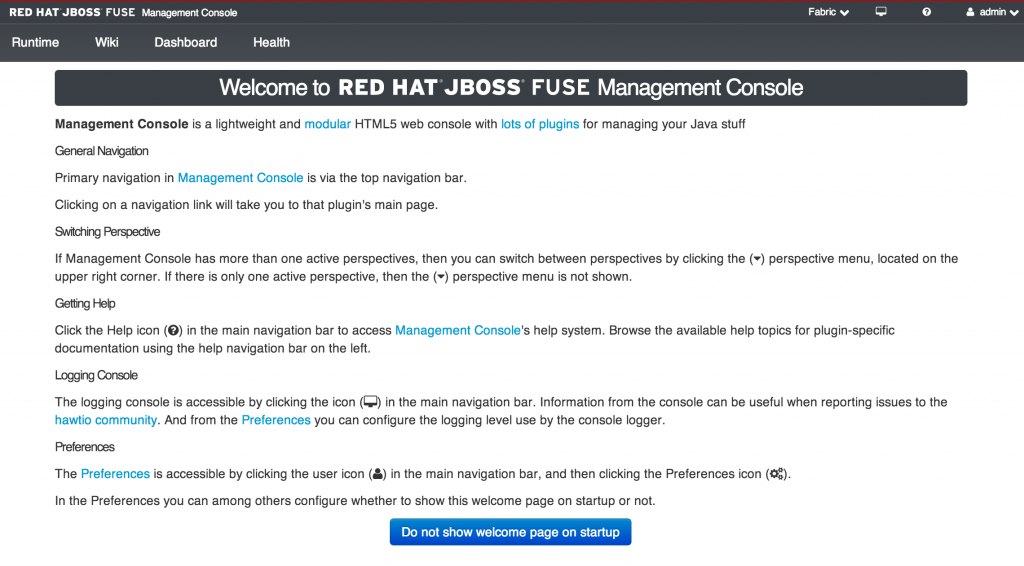
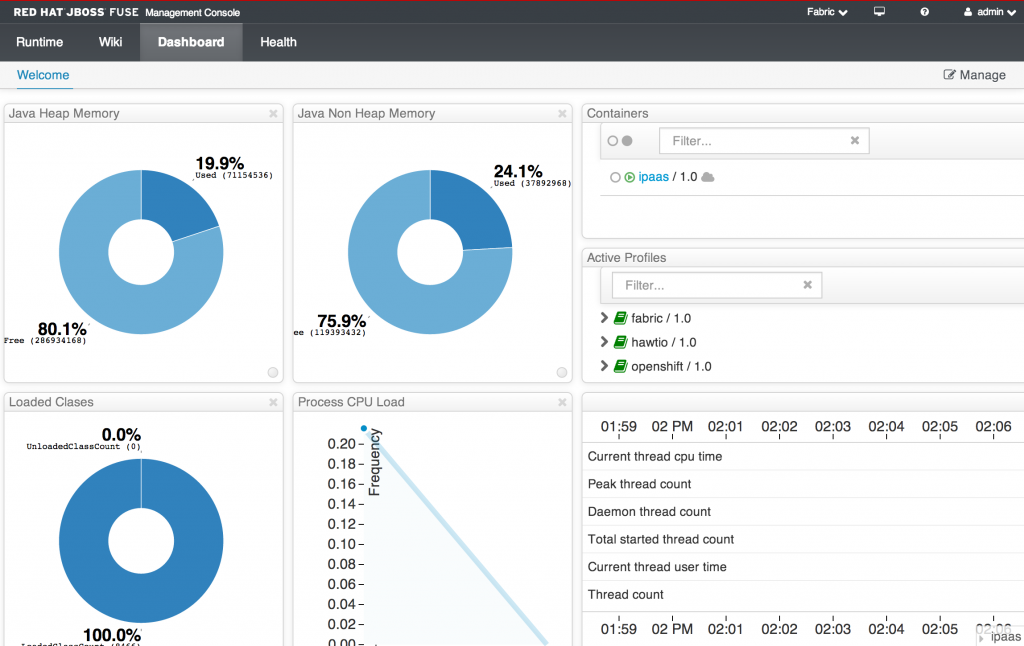
With iPaaS, getting the JBoss Fuse messaging and integration capabilities deployed onto OpenShift is as easy as clicking here. It only a couple of minutes for the service to be provisioned in OpenShift. Here are some screenshots from the console:

ipaas-jbossfuse-console-login

ipaas-jbossfuse-console-welcome


ipaas-jbossfuse-console-dashboard

Now I need to build a more meaningful app with this :)

Here are some other relevant links:

  • Getting Started guide
  • FAQ
  • Integration with JBoss Tools

Applications may be running on a common cloud platform, running on different cloud platforms (cloud-to-cloud), running in traditional on-premise configurations, or distributed across both cloud and on-premise platforms. In either case, they get the benefits of integration in the cloud—elastic scaling, self service, availability, ease of use, and cost effectiveness.

Feedback, requests, or contributions on JBoss Fuse cartridge at community.jboss.org/en/jbossfuse.

Documentation on JBoss Fuse is at access.redhat.com/site/documentation/en-US/Red_Hat_JBoss_Fuse.

xPaaS: Making PaaS Enterprise Ready

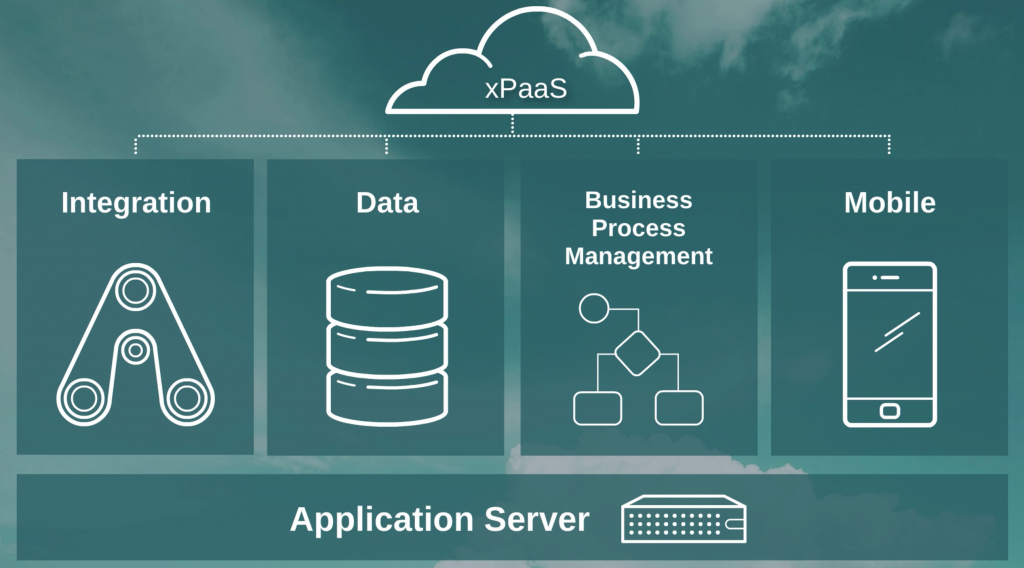
Red Hat announced xPaaS last year as a rich set of middleware services for building highly complex and sophisticated applications, all working seamlessly together. This is beyond the current state of PaaS where mostly an application container is provided as a service, aka aPaaS (Application Platform as a Service) or ePaas (Enterprise Platform as a a Service). Red Hat envisions xPaaS incorporating integration software to create iPaaS (Integration Platform as a Service), process management and rules management software as bpmPaaS (Business Process Modeling Platform as a Service), mobile capabilities as mPaaS (Mobile Platform as a Service) and MBaas (Mobile Backend as a Service) – all in one unified environment.

xpaas

Red Hat is very well positioned to deliver xPaaS as it can easily leverage the rich portfolio of Red Hat JBoss Middleware and offer these capabilities as services within our public PaaS offering, OpenShift Online, and our private PaaS offering, OpenShift Enterprise. All of these xPaaS services, including aPaaS with JBoss Enterprise Application Platform, iPaaS with JBoss Fuse, bpmPaaS with JBoss BPM technologies and JBoss BRMS, and mobile services with AeroGear, will be provided under a single PaaS environment. Enterprises will not be forced to go to many different PaaS environments in order to obtain what is necessary to build a true, n-tiered enterprise application.

Listen to an overview of xPaaS in this brief video:

xPaaS – making PaaS enterprise ready! Learn all about xPaaS at red.ht/xpaas.

If you are interested in learning more details, DevNation has some great sessions that provide all the details. Here are particular ones that would be interesting:

  • Integration PaaS: Continuous Integration with Fabric8 and OpenShift by Rob Davies and James Strachan (Sunday, 4/13, 1pm)
  • Intro to Fabric8 by Ioannis Canellos and James Strachan (Sunday, 4/13, 1:50pm)

Sign up for devnation.org today!


FREE Minecraft Server Hosting on OpenShift (Tech Tip #15)

minecraft-logo

Are you looking for free Minecraft server hosting and invite your friends to join the party ?

If yes, then read on!

First some context …

bukkit-logo

Bukkit is a free, open source project that provides the API and runtime to extend Minecraft. It is one of the most popular ways to write Minecraft mods. Bukkit uses a more general terminology of “plugin” but essentially they are mods in Minecraft context. Developers write plugins using Bukkit API.

CraftBukkit is a mod for the Minecraft server that implements Bukkit API. Developers can download CraftBukkit JAR for a particular version of Minecraft and use it to run a Minecraft server. This allows plugins, or mods in Minecraft parlance, written using Bukkit API to be installed in the CraftBukkit server.

Tech Tip #7 introduced OpenShift – Red Hat’s PaaS platform.

OpenShift-logo

This tip will show how to host a CraftBukkit server on public PaaS (sign up for free) version of OpenShift.

  1. Install OpenShift client tools. For simplicity, Mac commands are given below:

    Note, you need to use MRI Ruby, not JRuby. Install RVM to manage different versions of Ruby on your machine. For example, install Ruby 2.1.0 as:

    And set the default Ruby version using:
  2. Create OpenShift DIY application as:

    This command uses an OpenShift QuickStart, created by John Yeary, to create an OpenShift application. CraftBukkit JAR is downloaded and Minecraft server is started using it by the time application is ready.

    Note, a free account gives 3 small gears where each gear is 512 MB RAM and 1GB of disk space. Minecraft wiki recommends 512 MB of RAM and 2GB of disk space for 6-10 players.

  3. As mentioned in Steven Citron-Pousty’s blog:At this time, OpenShift is primarily a HTTP server platform – we proxy HTTP calls but no other protocols. In addition, we only expose ports 80 (HTTP), 443 (HTTPS), and 22 (SSH) to the outside world from your gear. While we can start up Minecraft Server on any port we want (and tell the client to listen on that port), the Minecraft server and client do not talk HTTP so we can not proxy the calls. To get this to work we are going to have to SSH port-forward either from your laptop to the server or vice versa (both configurations are supported on OpenShift).So lets forward a port from our local machine to the Minecraft server port on OpenShift using the following command:

    This should show an output something similar to as shown:

    And now you are ready to connect your Minecraft client.

  4. Login to OpenShift using the command:

    Change the directory to view Miencraft logs as:

    Read through server.log file in that directory to check the Minecraft server version. Its 1.7.2 as of this writing and shows a message like:

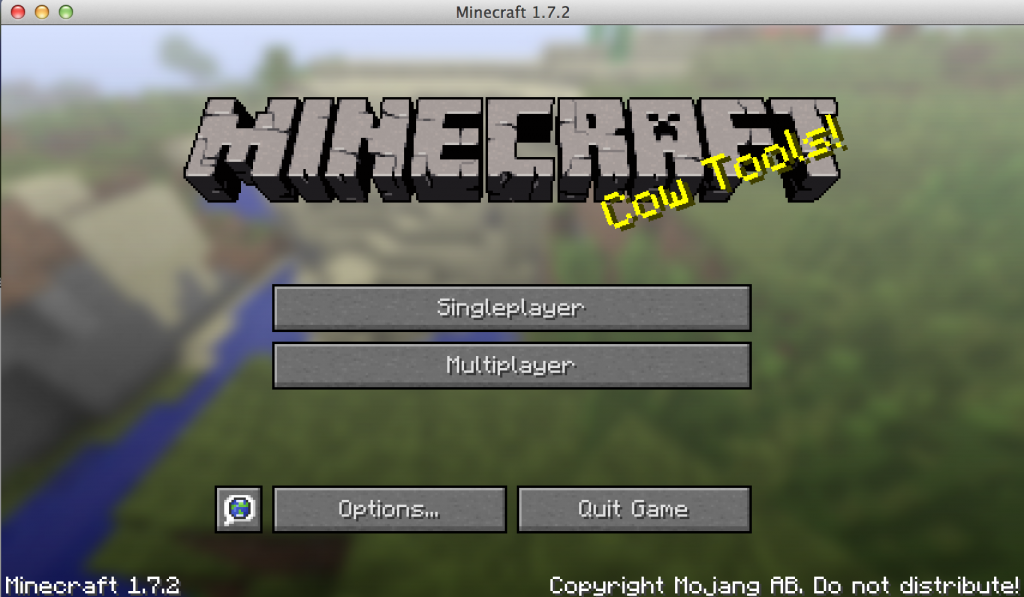
    Now run Minecraft launcher and select the matching version as explained in this video. Click on Play to start the game.

    Now click on Multiplayer:

    tt15-minecraft-multiplayer

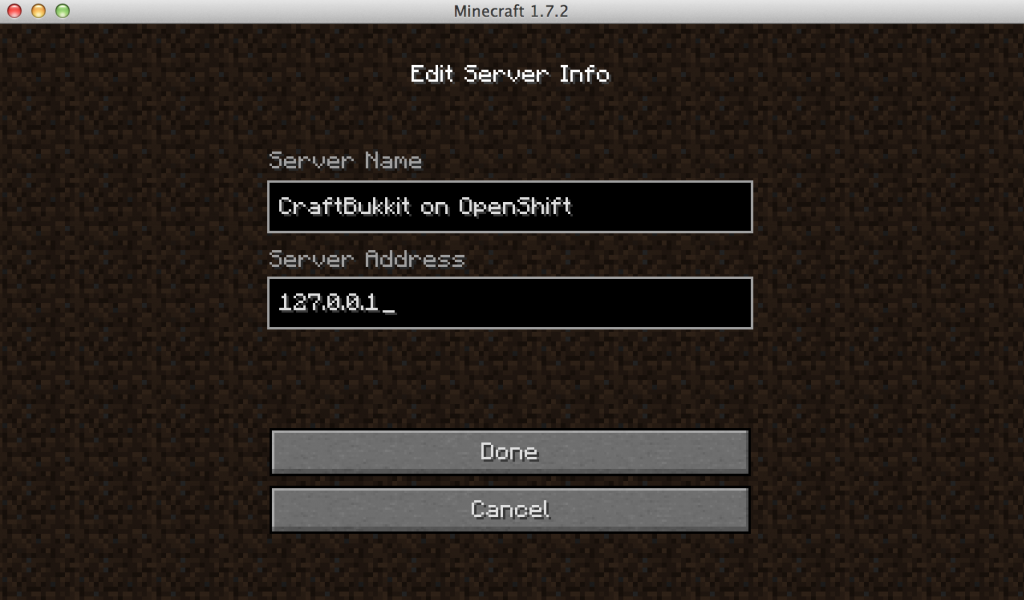
    Click on Add Server and specify the server details as:

    tt15-craftbukkit-openshift-server

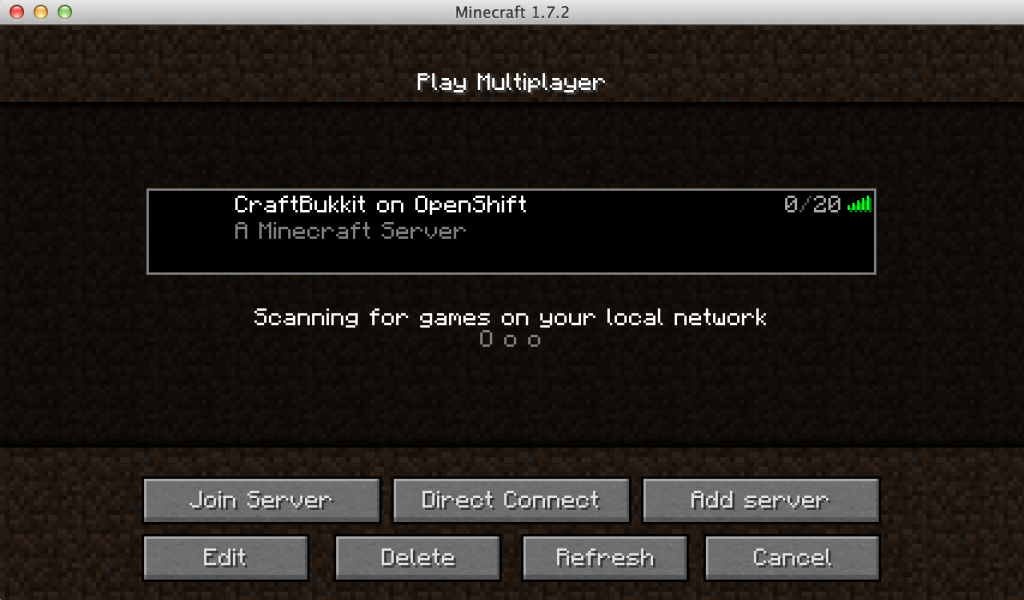
    Click on Done. Select the recently added server and click on Join Server:

    tt15-join-server

    And now you are playing a CraftBukkit server hosted on OpenShift.

  5. Set up the administrative player (or operator in Minecraft parlance) by following the instructions here.

Minecraft is a lot more fun when played with other friends. The instructions above allow you to host a server and be the operator. The following instructions are needed on each player who wants to join the same server:

  1. Install and setup RHC
  2. The following steps need to be done by the player hosting the server.
    • Each player’s public key (typically in .ssh directory and file named id_rsa.pub) needs to be added to the domain hosting the server. This can be done at https://openshift.redhat.com/app/console/settings.
    • Each player’s OpenShift account (email id) needs to be added to the domain hosting the server (for example: https://openshift.redhat.com/app/console/domain/milestogo)
  3. For Windows machines only: Download Putty (used for ssh shell verification) and PuttyGen (used for importing the id_rsa key so that it can be recognized by Putty). Import the id_rsa key using PuttyGen as explained here.
  4. Port forward using the following command:

And now the players can connect to the same server using the multiplayer setup instructions explained above!

Note that even though server requirements for Minecraft state that 6-10 players can join in 512 MB of RAM but practically speaking only 2 players could play in this much memory. More memory can always be added to your existing account by signing up for Silver Plan.

minecraft-steve

Happy minecrafting!

WildFly 8 CR1 on OpenShift (Tech Tip #7)

OpenShift-logo

OpenShift is Red Hat’s PaaS platform and comes in three flavors:

  • Origin is the Community PaaS offering. You can explore the community-driven open source upstream of OpenShift. Join the community.
  • Online is the Public PaaS offering. Host your applications in the public cloud with automated provisioning, management, and scaling of applications. Sign up for free.
  • Enterprise is the Private PaaS offering. Leverage PaaS in your own data centers and private cloud. Request evaluation.

With 1.5m+ total apps created, 2400 apps created each day, 2100 new users each week, OpenShift provides the best PaaS experience for Java with JBoss EAP, Tomcat, Jenkins, Maven, Eclipse, MongoDB, MySQL, and a whole variety of pluggable cartridges. OpenShift provides great velocity by providing support for devops, Node.js, Ruby, Mobile, NoSQL. In addition it also offers stability by offering multi-tenancy, security, auto-scaling, no lock-in, and Red Hat Enterprise Linux.

OpenShift was the first PaaS to offer support for WildFly, naturally! As WildFly CR1 was released recently with 100% Java EE 7 TCK passing, the developer cartridge has been updated as well.

Lets take a look at how to get started with WildFly CR1 using the CLI tools. Alternatively, Web Console or IDE can be used as explained in Getting Started Guide.

  1. Install the client: sudo gem install rhc
  2. Setup your environment: rhc setup
  3. Create your application as shown

    And now you have your first application running on OpenShift and deployed on WildFly. Console should show the following output:
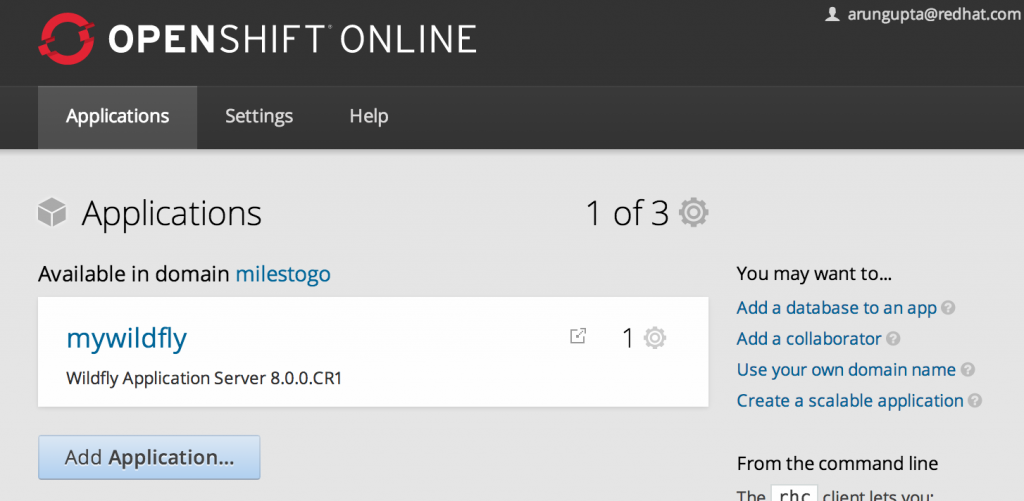
openshift-console-techtip7

The application is now accessible at:

http://mywildfly-milestogo.rhcloud.com and looks like:
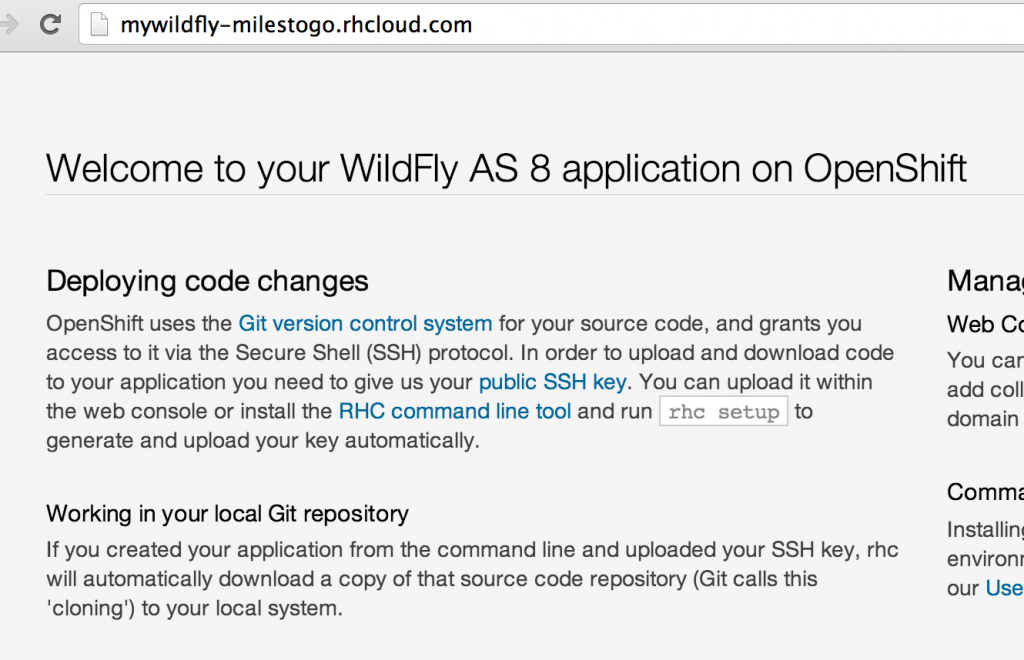
wildfly-openshift-mainpage-techtip7

Port forwarding can be enabled by issuing the following command:

Now WildFly’s wonderful admin console is accessible at http://localhost:9090 and is automatically redirected to your instance running on OpenShift.

You can also get some more details about the service at:

http://mywildfly-milestogo.rhcloud.com/snoop.jsp

Do you want to try deploying one of the Java EE 7 samples on this application now ? May be a WebSocket one ;-)