 OpenShift is Red Hat’s open source PaaS platform. OpenShift v3 (due to be released this year) will provide a holistic experience on running your microservices using Docker and Kubernetes. In a classic Red Hat way, all the work is done in the open source at OpenShift Origin. This will also drive the next major release of OpenShift Online and OpenShift Enterprise.
OpenShift v3 uses a new platform stack that is using plenty of community projects where Red Hat contributes such as Fedora, Centos, Docker, Project Atomic, Kubernetes, and OpenStack. OpenShift v3 Platform Combines Docker, Kubernetes, Atomic and More explain this platform stack in detail.

This tech tip will explain how to get started with OpenShift v3, lets get started!
Getting Started with OpenShift v3
Pre-built binaries for OpenShift v3 can be downloaded from Origin at GitHub. However the simplest way to get started is to run OpenShift Origin as a Docker container.
OpenShift Application Lifecycle provide complete details on what it takes to run a sample application from scratch. This blog will use those steps and adapt them to run using boot2docker VM on Mac. And in the process we’ll also deploy a Java EE 7 application on WildFly which will be accessing database on a separate MySQL container.
Here is our deployment diagram:

- WildFly and MySQL are running on separate pods.
- Each of them is wrapped in a Replication Controller to enable simplified scaling.
- Each Replication Controller is published as a Service.
- WildFly talks to the MySQL service, as opposed to directly to the pod. This is important as Pods, and IP addresses assigned to them, are ephemeral.
Lets get started!
Configure Docker Daemon
- Configure the docker daemon on your host to trust the docker registry service you’ll be starting. This registry will be used to push images for build/test/deploy cycle.
- Log into boot2docker VM as:
123boot2docker ssh - Edit the file
This will be an empty file.123sudo vi /var/lib/boot2docker/profile - Add the following name/value pair:
Save the file, and quit the editor.123EXTRA_ARGS="--insecure-registry 172.30.17.0/24"
This will instruct the docker daemon to trust any docker registry on the 172.30.17.0/24 subnet.
- Log into boot2docker VM as:
Check out OpenShift v3 and Java EE 7 Sample
- Download and Install Go and setup GOPATH and PATH environment variable. Check out OpenShift origin directory:
12345678910openshift> git clone https://github.com/openshift/origin.gitCloning into 'origin'...remote: Counting objects: 21451, done.remote: Compressing objects: 100% (76/76), done.remote: Total 21451 (delta 26), reused 15 (delta 1)Receiving objects: 100% (21451/21451), 35.11 MiB | 1.24 MiB/s, done.Resolving deltas: 100% (11392/11392), done.Checking connectivity... done.
Note the directory where its checked out. In this case, its ~
/workspaces/openshift.Build the workspace:
1234567891011121314151617181920212223make releaseorigin> make releaserm -rf _output Godeps/_workspace/pkghack/build-release.shUnable to find image 'openshift/origin-release' locallyPulling repository openshift/origin-releasec59f040a4054: Download complete511136ea3c5a: Download complete5b12ef8fd570: Download completedade6cb4530a: Download completebd195712b86c: Download complete4aae29c1c846: Download completed8738da3ed4c: Download complete7f7491063665: Download completeb5cfa9eebdb5: Download complete2f6297477756: Download completedc98bd93df2f: Download complete1be2a7550a3d: Download complete42fd088f8c55: Download completeb6f6ad4012df: Download completeStatus: Downloaded newer image for openshift/origin-release:latest - Check out javaee7-hol workspace that has been converted to a Kubernetes application:
12345678910origin> git clone https://github.com/bparees/javaee7-holCloning into 'javaee7-hol'...remote: Counting objects: 1159, done.remote: Compressing objects: 100% (49/49), done.remote: Total 1159 (delta 35), reused 37 (delta 21)Receiving objects: 100% (1159/1159), 20.35 MiB | 1.78 MiB/s, done.Resolving deltas: 100% (605/605), done.Checking connectivity... done.
This is also done in
~/workspaces/openshiftdirectory.
Start OpenShift v3 Container
- Start OpenShift Origin as Docker container:
1234567891011~> docker run -d --name "openshift-origin" --net=host --privileged \-v /var/run/docker.sock:/var/run/docker.sock \-v /Users/arungupta/workspaces/openshift:/workspaces/openshift \-v /usr/local/bin/docker:/usr/bin/docker \openshift/origin start --public-master=$(boot2docker ip)The VM's Host only interface IP address is:0ae85091e7ad7e85697575369f008273a6673d112b49860f5557a61d9e82d908
Note
~/workspaces/openshiftdirectory is mounted as/workspaces/openshiftvolume in the container. Some additional volumes are mounted as well.Check that the container is running:
12345~> docker psCONTAINER ID IMAGE COMMAND CREATED STATUS PORTS NAMES0ae85091e7ad openshift/origin:beta1 "/usr/bin/openshift 2 minutes ago Up 2 minutes openshift-origin - Log into the container as:
1234openshift> docker exec -it `docker ps | grep origin:beta1 | awk '{ print $1 }'` bash[root@boot2docker openshift]#
- Install Docker registry in the container by giving the following command:
12345export CERT_DIR=/var/lib/openshift/openshift.local.certificates/openshift-client && \export KUBECONFIG=/var/lib/openshift/openshift.local.certificates/admin/.kubeconfig && \cd /workspaces/openshift/origin && hack/install-registry.sh
- Confirm that the registry is running by getting the list of pods:
12345[root@boot2docker origin]# osc get podsPOD IP CONTAINER(S) IMAGE(S) HOST LABELS STATUSdocker-registry-1-gfkbz 172.17.0.14 registry-container openshift/docker-registry boot2docker/127.0.0.1 deployment=docker-registry-1,deploymentconfig=docker-registry,name=registrypod,template=docker-registry-template Running
oscis OpenShift Client CLI and allows to create and manage OpenShift projects. Some of the kubectl commands can also be using this script. - Confirm the registry service is running. Note the actual IP address may vary:
1234567[root@boot2docker origin]# osc get servicesNAME LABELS SELECTOR IP PORTdocker-registry template=docker-registry-template name=registrypod 172.30.17.142 5001kubernetes component=apiserver,provider=kubernetes <none> 172.30.17.2 443kubernetes-ro component=apiserver,provider=kubernetes <none> 172.30.17.1 80
- Confirm that the registry service is accessible:
123curl `osc get services docker-registry -o template --template="{{ .portalIP}}:{{ .port }}"`
And look for the output:
123"docker-registry server (dev) (v0.9.0)"
Access OpenShift v3 Web Console
- OpenShift Origin server is now up and running. Find out the host’s IP address using
boot2docker ipand open http://<IP addresss of boot2docker host>:8444 to view OpenShift Web Console in your browser.For example, the console is accessible at https://192.168.59.103:8444/ on this machine.
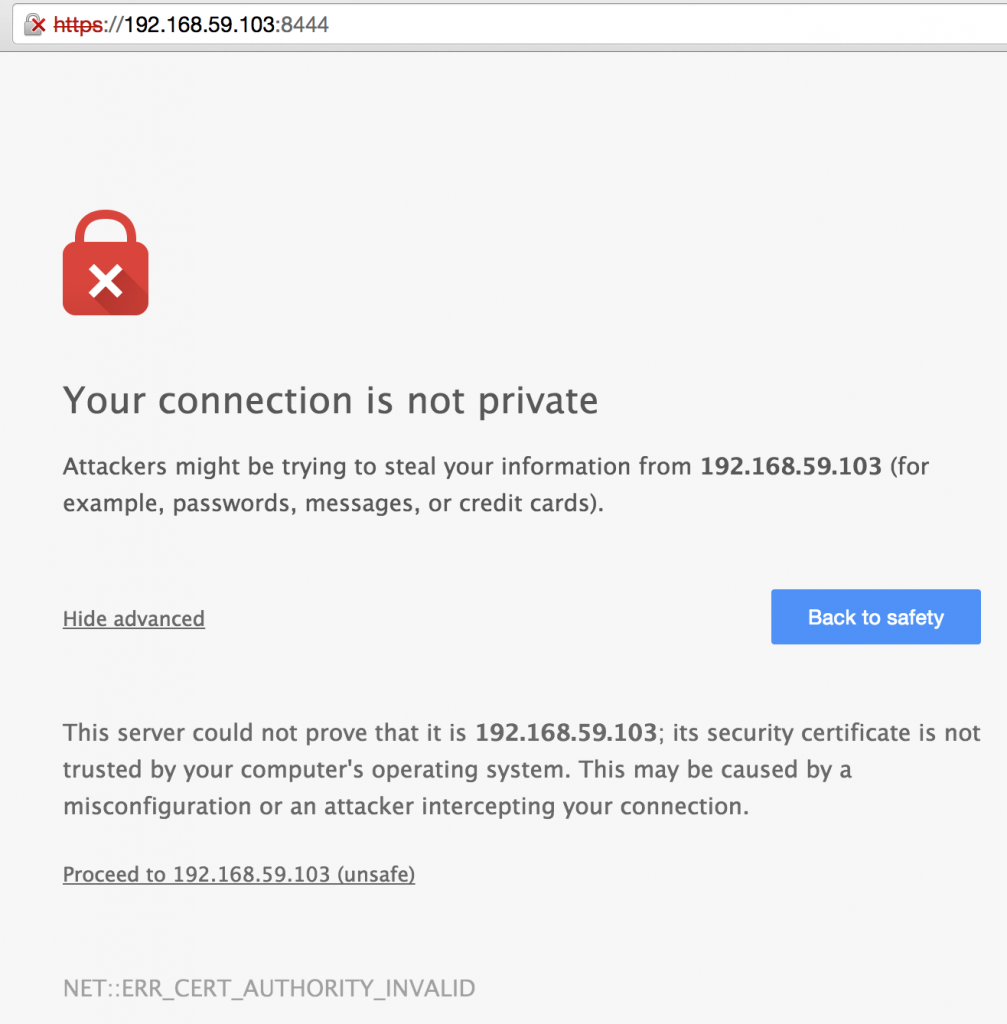
You will need to have the browser accept the certificate at
https://<host>:8444before the console can consult the OpenShift API. Of course this would not be necessary with a legitimate certificate. - OpenShift Origin login screen shows up. Enter the username/password as admin/admin:
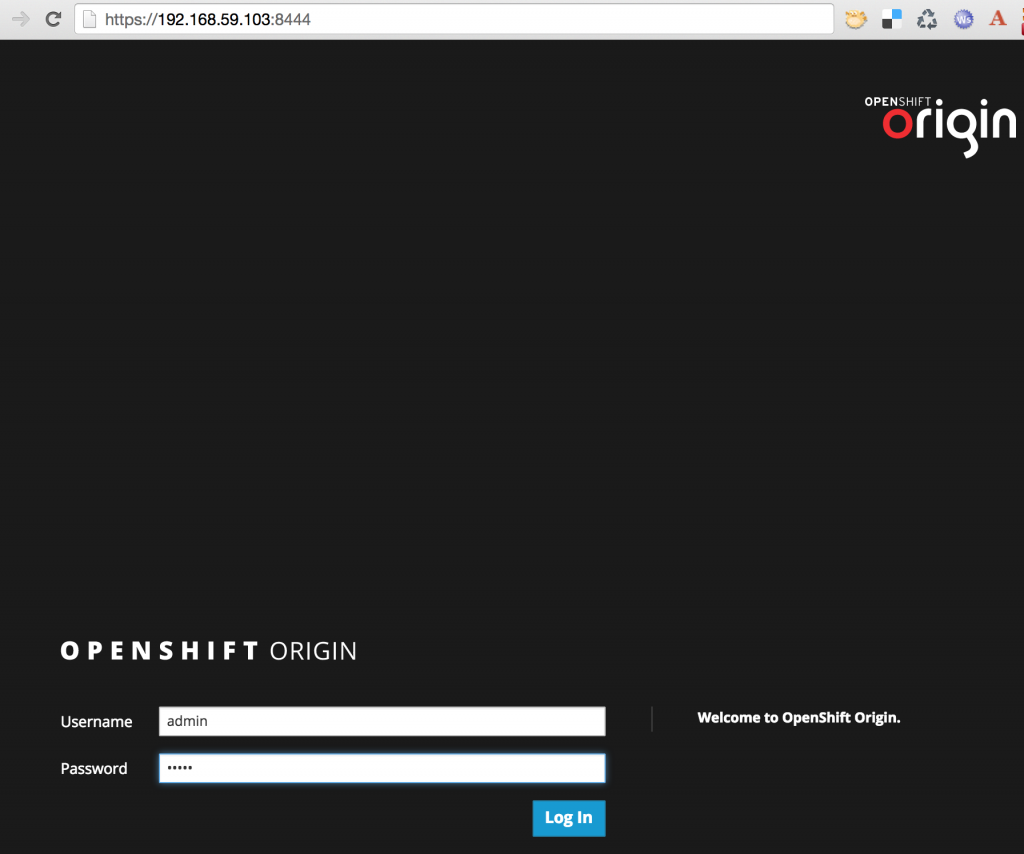
and click on the “Log In” button. The default web console looks like:


Create OpenShift v3 Project
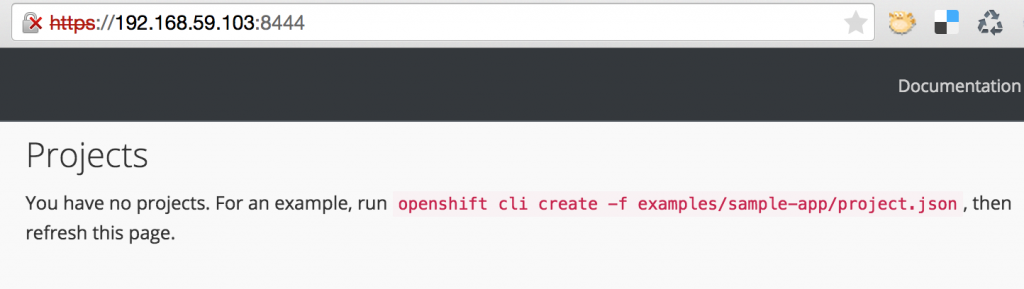
- Use
project.jsonfrom github.com/openshift/origin/blob/master/examples/sample-app/project.json in the OpenShift v3 container and create a test project as:1234[root@boot2docker origin]# osc create -f /workspaces/openshift/origin/examples/sample-app/project.jsontestRefreshing the web console now shows:

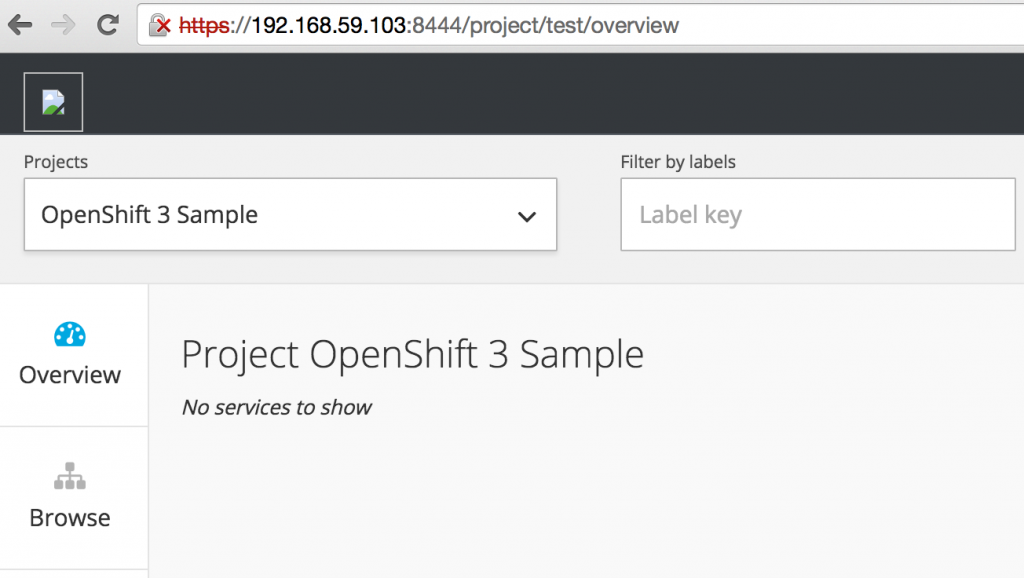
Clicking on “OpenShift 3 Sample” shows an empty project description:
- Request creation of the application template:
1234567891011[root@boot2docker openshift]# cd javaee7-hol/[root@boot2docker javaee7-hol]# osc process -n test -f application-template-jeebuild.json | osc create -n test -f -frontendorigin-jee-samplewildfly-8-centosjee-sample-buildfrontendmysqldatabase
- Web Console automatically refreshes and shows:
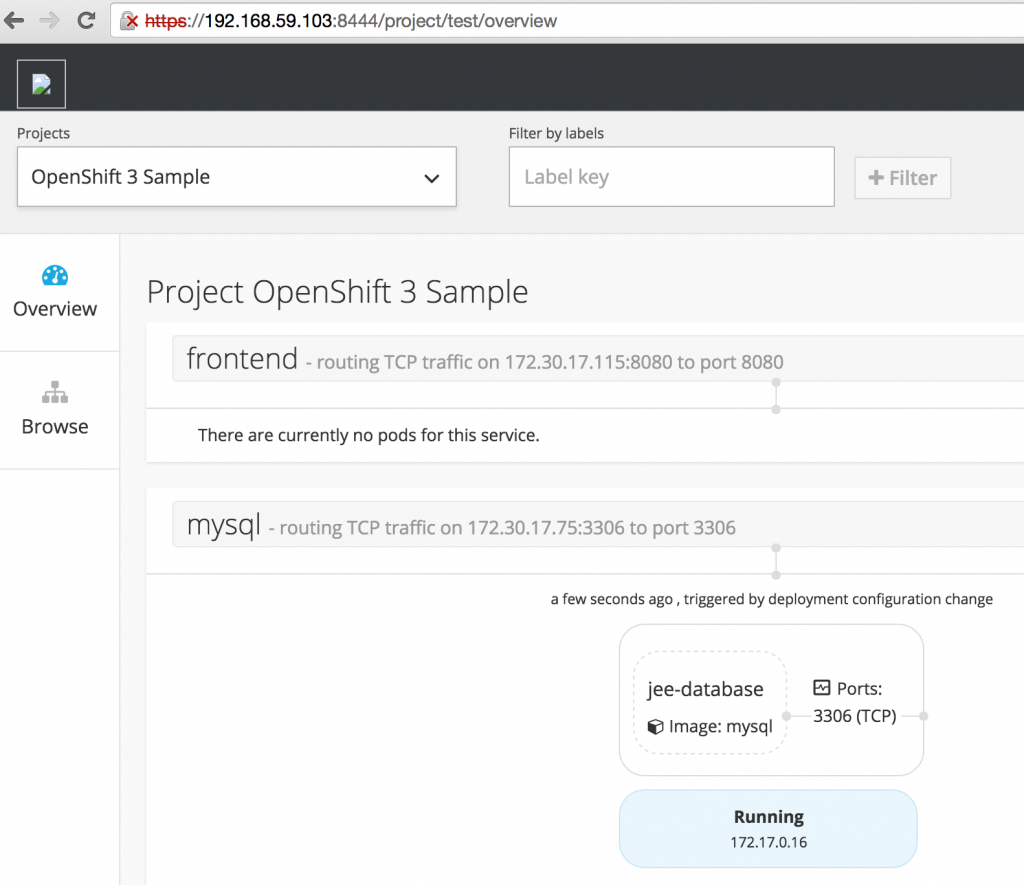
The list of services running can be seen as: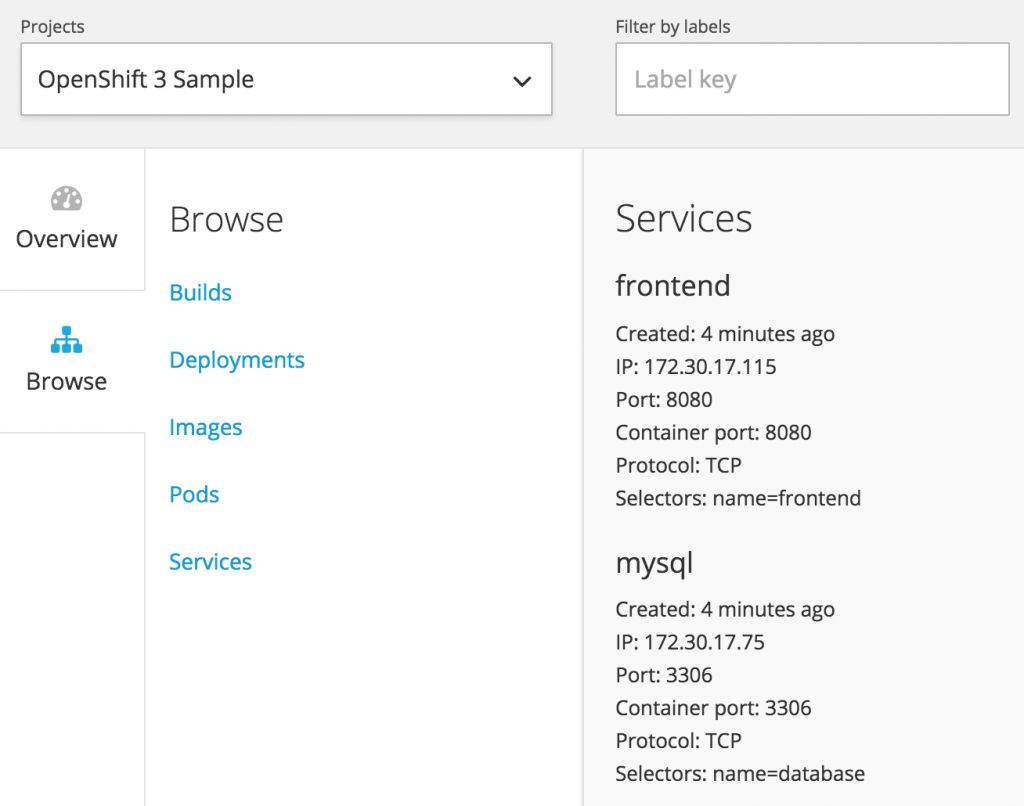


Build the Project
- Trigger an initial build of your project:
1234[root@boot2docker javaee7-hol]# osc start-build -n test jee-sample-buildcee73fbc-b32d-11e4-a0f2-5282784576db
- Monitor the builds and wait for the status to go to “complete” (this can take a few minutes):
12345[root@boot2docker javaee7-hol]# osc get -n test buildsNAME TYPE STATUS PODcee73fbc-b32d-11e4-a0f2-5282784576db STI Running build-cee73fbc-b32d-11e4-a0f2-5282784576db
You can add the –watch flag to wait for updates until the build completes:
1234567[root@boot2docker javaee7-hol]# osc get -n test builds --watchNAME TYPE STATUS PODcee73fbc-b32d-11e4-a0f2-5282784576db STI Running build-cee73fbc-b32d-11e4-a0f2-5282784576dbNAME TYPE STATUS PODcee73fbc-b32d-11e4-a0f2-5282784576db STI Complete build-cee73fbc-b32d-11e4-a0f2-5282784576dbWait for the
STATUScolumn to showComplete. It will take a few minutes as all the components (WIldFly, MySQL, Java EE 7 application) are provisioned. Effectively, their new Docker images are created and pushed to the local registry that was started earlier.Hit
Ctrl+Cto stop watching builds after the status changes toComplete. - Complete log of the build can be seen as:
123456789101112131415161718192021[root@boot2docker javaee7-hol]# osc build-logs -n test cee73fbc-b32d-11e4-a0f2-5282784576db2015-02-13T03:10:07.065718606Z Cloning into '/tmp/sti552730161/upload/src'...2015-02-13T03:11:03.184576532Z I0213 03:11:03.184326 1 build.go:160] Successfully built 172.30.17.142:5001/test/origin-jee-sample2015-02-13T03:11:07.261489310Z The push refers to a repository [172.30.17.142:5001/test/origin-jee-sample] (len: 1)2015-02-13T03:11:07.261489310Z Sending image list2015-02-13T03:11:07.275256699Z Pushing repository 172.30.17.142:5001/test/origin-jee-sample (1 tags)2015-02-13T03:11:07.307836081Z PushingBuffering to disk07.314345045Z Buffering to disk 1.024 kB2015-02-13T03:11:07.315452728Z Buffering to diskPushing-13T03:11:07.323973430Z Pushing [=========================> ] 512 B/1.024 kB 0. . .Pushing-13T03:13:05.932725921Z Pushing [================================================> ] 6.56 MB/6.704 MB 0Pushing-13T03:13:05.942989165Z Pushing [=================================================> ] 6.635 MB/6.704 MB 0Pushing-13T03:13:05.943025109Z Pushing [=================================================> ] 6.702 MB/6.704 MB 0Pushing-13T03:13:05.947665528Z Pushing [==================================================>] 6.704 MB/6.704 MB2015-02-13T03:13:05.953476634Z Image successfully pushed2015-02-13T03:13:05.953476634Z Pushing tag for rev [b0a7868377c1] on {http://172.30.17.142:5001/v1/repositories/test/origin-jee-sample/tags/latest}
- Check for the application pods to start:
1234567[root@boot2docker javaee7-hol]# osc get -n test podsPOD IP CONTAINER(S) IMAGE(S) HOST LABELS STATUSbuild-cee73fbc-b32d-11e4-a0f2-5282784576db 172.17.0.17 sti-build openshift/origin-sti-builder:v0.3 boot2docker/127.0.0.1 <none> Succeededdatabase-1-axe6d 172.17.0.16 jee-database mysql boot2docker/127.0.0.1 deployment=database-1,deploymentconfig=database,name=database,template=jee-sample Runningfrontend-1-pkcia 172.17.0.20 jee-sample 172.30.17.142:5001/test/origin-jee-sample:b0a7868377c10a50b40019be70e22d040b9a2bb2d87fa3932b700494e50a4de6 boot2docker/127.0.0.1 deployment=frontend-1,deploymentconfig=frontend,name=frontend,template=jee-sample Running
Note, that the “frontend” and “database” pods are now running.
- Determine IP of the “frontend” service:
123456[root@boot2docker javaee7-hol]# osc get -n test servicesNAME LABELS SELECTOR IP PORTfrontend template=jee-sample name=frontend 172.30.17.115 8080mysql template=jee-sample name=database 172.30.17.75 3306
- Access the application at http://<IP address of “frontend”>:8080/movieplex7-1.0-SNAPSHOT should work. Note the IP address may (most likely will) vary. In this case, it would be http://172.30.17.115:8080/moviexplex7-1.0-SNAPSHOT.The app would not be accessible yet, as some further debugging is required to configure firewall on Mac when OpenShift v3 is used as Docker container. Until we figure that out, you can do
docker psin your boot2docker VM to see the list of all the containers:12345678910111213origin> docker psCONTAINER ID IMAGE COMMAND CREATED STATUS PORTS NAMESc776cabb72f8 172.30.17.17:5001/test/origin-jee-sample:91d1b5a5ed58e1642aafbd652eba0b7eae3a0ac08c17729d205ae88204f64449 "/tmp/scripts/run" 2 hours ago Up 2 hours k8s_jee-sample.7af25557_frontend-2-9ciae.test.api_12a0d77e-b3b5-11e4-81f6-5282784576db_53f91f55e7f87112c473 openshift/origin-pod:beta1 "/pod" 2 hours ago Up 2 hours k8s_POD.9cbfdefa_frontend-2-9ciae.test.api_12a0d77e-b3b5-11e4-81f6-5282784576db_64263b617e7579db5f82 openshift/origin-pod:beta1 "/pod" 2 hours ago Up 2 hours k8s_POD.123cbdd6_build-e075047d-b3b4-11e4-81f6-5282784576db.test.api_e07bcdb2-b3b4-11e4-81f6-5282784576db_376c0e6374082d7791ec openshift/origin-pod:beta1 "/pod" 2 hours ago Up 2 hours k8s_POD.123cbdd6_build-76364bb6-b3b2-11e4-81f6-5282784576db.test.api_7639e3a5-b3b2-11e4-81f6-5282784576db_f653c7fd3e42dacb0da7 mysql:latest "/entrypoint.sh mysq 3 hours ago Up 3 hours k8s_jee-database.f12628ae_database-1-bqg8v.test.api_56093bac-b3b2-11e4-81f6-5282784576db_193dddf7cb551c8cf7bf openshift/origin-pod:beta1 "/pod" 3 hours ago Up 3 hours k8s_POD.95f2def6_database-1-bqg8v.test.api_56093bac-b3b2-11e4-81f6-5282784576db_295fc320e8719152df42 openshift/docker-registry:latest "\"sh -c 'echo \"$OP 3 hours ago Up 3 hours k8s_registry-container.4e338487_docker-registry-1-bt49s.default.api_177a691c-b3b0-11e4-81f6-5282784576db_a6f4f83bd3ecc5841c3b openshift/origin-pod:beta1 "/pod" 3 hours ago Up 3 hours k8s_POD.8a29deef_docker-registry-1-bt49s.default.api_177a691c-b3b0-11e4-81f6-5282784576db_ba53d62ba506222fae91 openshift/origin:beta1 "/usr/bin/openshift 3 hours ago Up 3 hours openshift-originAnd then login to the container associated with frontend as:
123docker exec -it `docker ps | grep origin-jee-sample | awk '{ print $1 }'` bashThis will log in to the Docker container where you can check that the application is deployed successfully by giving the following command:
123bash-4.2$ curl http://localhost:8080/movieplex7-1.0-SNAPSHOT/This will print the
index.htmlpage from the application which has license at the top and rest of the page after that.Now once the firewall issue is resolved, this page will then be accessible on host Mac as well.
Lets summarize:
- Cloned the OpenShift Origin and Java EE 7 sample repo
- Started OpenShift v3 as Docker container
- Loaded the OpenShift v3 Web Console
- Create an OpenShift v3 project
- Loaded Java EE 7 application template
- Triggered a build, which deployed the application
Here are some troubleshooting tips if you get stuck.
Enjoy!


Excellent tutorial ! Thank you!
Hi Arun, unfortunately the sample-app you link to has been moved or deleted. I guess it’s probably evolved into one of the several now in https://github.com/openshift/origin/tree/master/examples/sample-app, but I don’t know which.
Hi Arun,
Did you solve the firewall issue? I’m trying to expose a similar app to the outside world without much luck.
Cheers
Lionel.
I have played the more different mode games,but world of solitaire batter then more solitaire games now hurry up play this game,and using your skill.
The author clearly describe all the parts of the article with good language and information. Looking forward to another article.
driving directions