This blog explains how to create a Deployment Pipeline using Jenkins and Docker for a Java application talking to a database.
Jenkins support the creation of pipelines. They are built with simple text scripts that use a Pipeline DSL (domain-specific language) based on the Groovy programming language.
The script, typically called Jenkinsfile, defines multiple steps to execute both simple and complex tasks according to the parameters that you establish. Once created, pipelines can build code and orchestrate the work required to drive applications from commit to delivery.
A pipeline consists of steps, node and stage. A pipeline is executed on a node – a computer that is part of Jenkins installation. A pipeline often consists of multiple stages. A stage consists of multiple steps. Read Getting Started with Pipeline for more details.
For our application, here is the basic flow:

Complete source code for the application used is at github.com/arun-gupta/docker-jenkins-pipeline.
The application is defined in the webapp directory. It opens a connection to the Couchbase database and stores a simple JSON document using Couchbase Java SDK. The application also has a test that verifies that the database indeed contains the document that was persisted.
Many thanks to @alexsotob for helping me with Jenkins configuration.
Let’s get started!
Download and Install Jenkins
- Download Jenkins from jenkins.io. This was tested with Jenkins 2.21.
- Start Jenkins:
This command starts Jenkins by specifying the home directory where all the configuration information is stored. It also defines the port on which Jenkins is listening,123JENKINS_HOME=~/.jenkins java -jar ~/Downloads/jenkins-2.21.war --httpPort=90909090in this case. - First start of Jenkins shows the following message in the console:
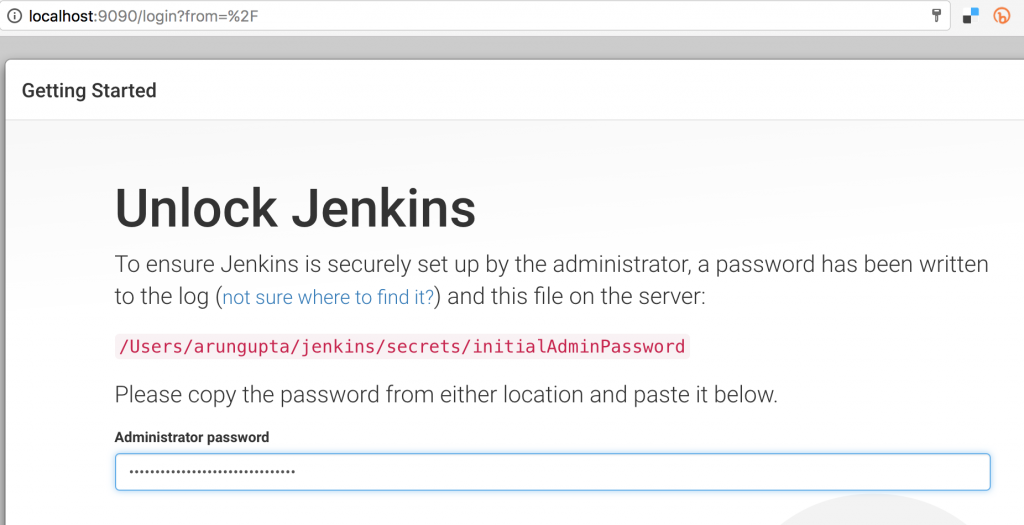
Copy the password shown here. This will be used to unlock Jenkins.12345678910111213141516***************************************************************************************************************************************************************************************Jenkins initial setup is required. An admin user has been created and a password generated.Please use the following password to proceed to installation:3521fbc3d40448efa8942f8e464b2dd9This may also be found at: /Users/arungupta/.jenkins/secrets/initialAdminPassword*************************************************************************************************************************************************************************************** - Access the Jenkins console at localhost:9090 and paste the password:
 Click on
 Next. - Create the first admin user as shown:
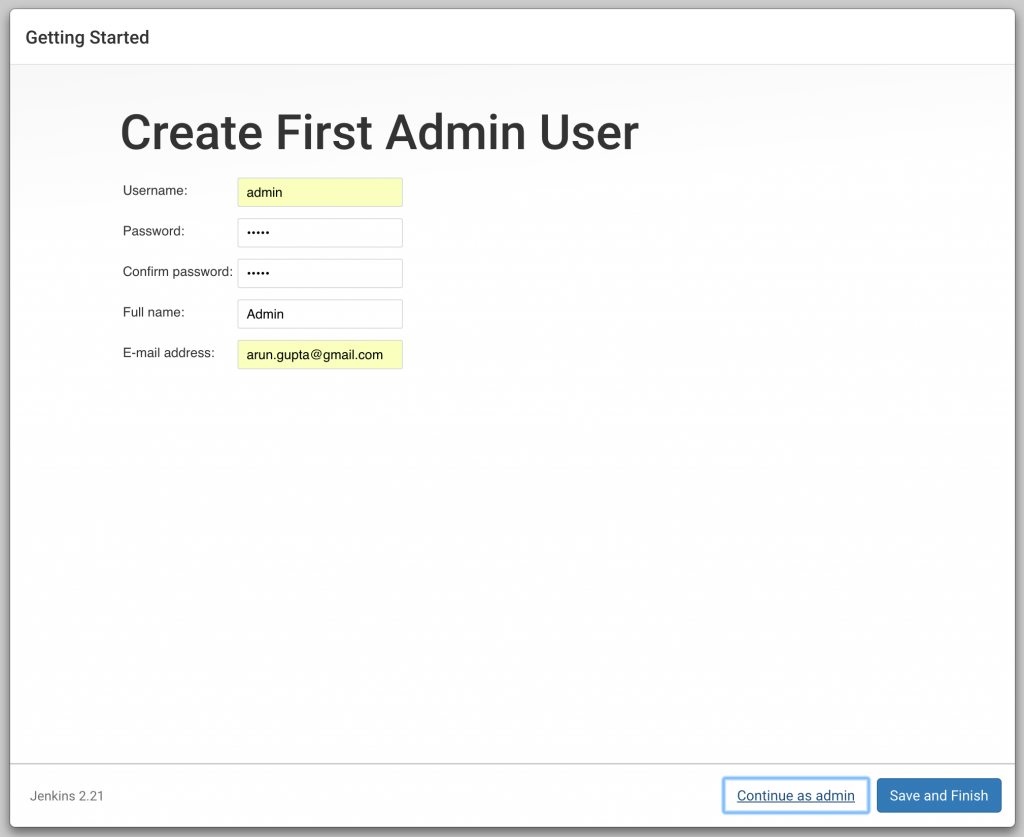
Click onSave and Finish. - Click on
Install suggested plugins: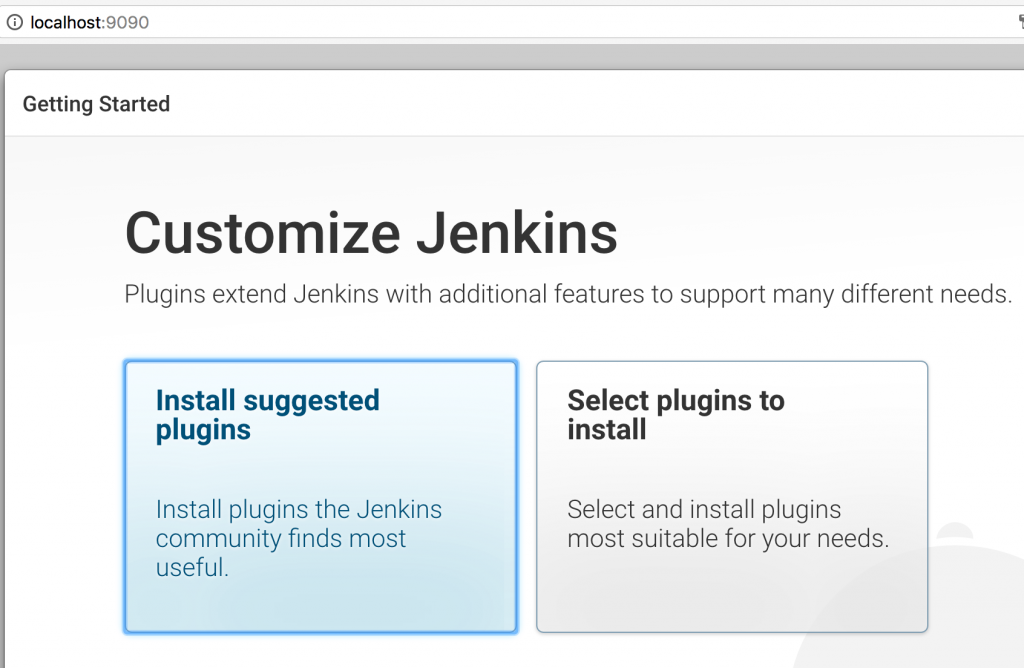
A bunch of default plugins are installed: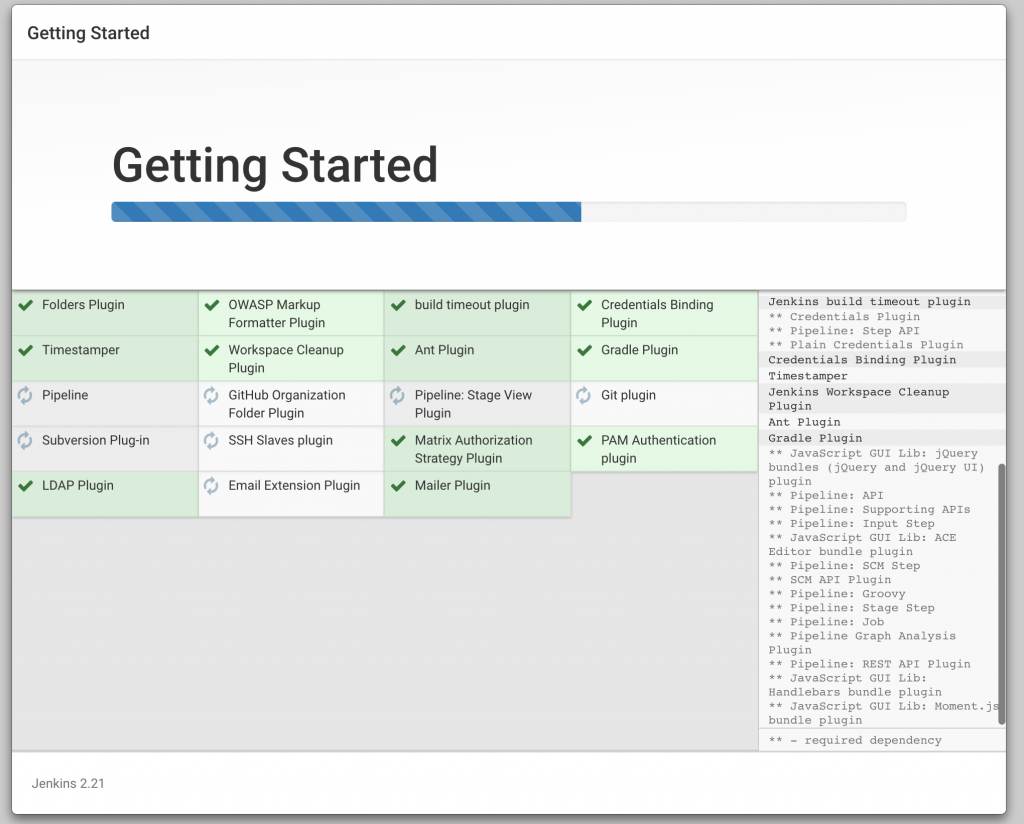
Found it surprising that Ant and Subversion are the default plugins. - Login screen is prompted.
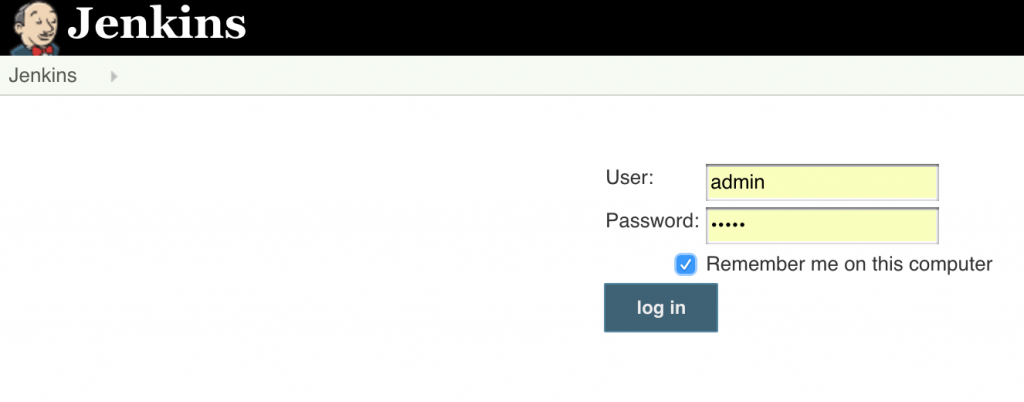
Enter the username and password specified earlier. - Finally, Jenkins is ready to use:
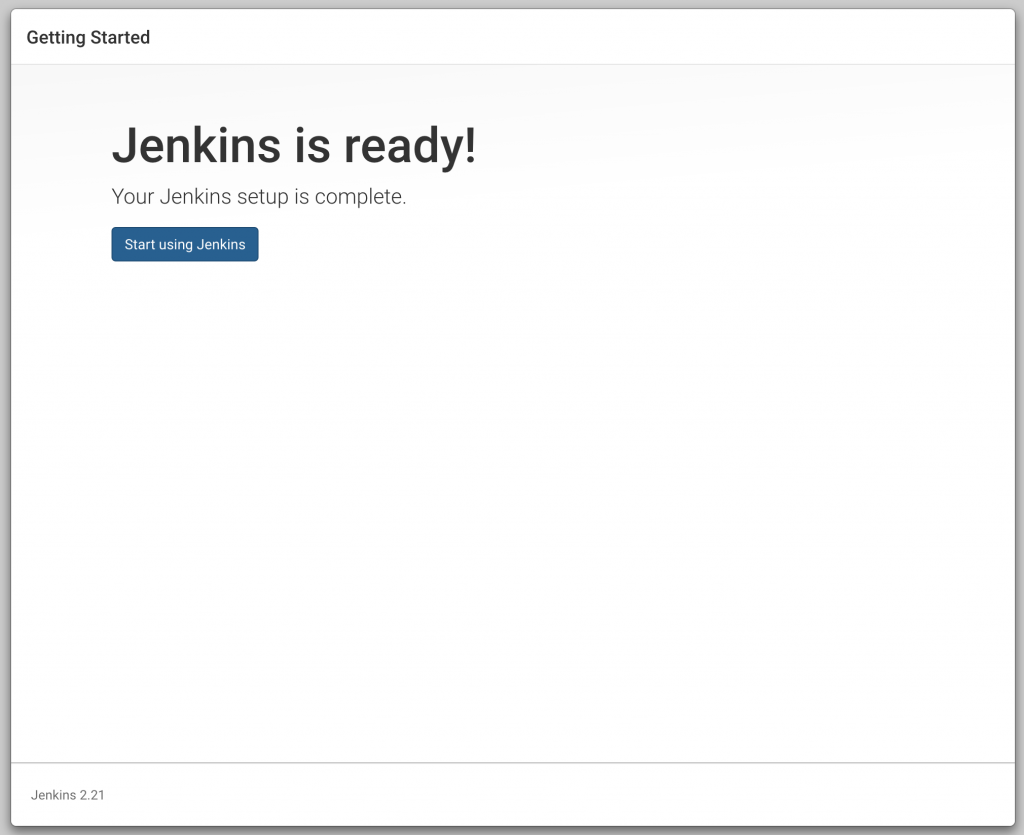
That’s quite a bit of steps to get started with basic Jenkins. Do I really have to jump through all these hoops to get started with Jenkins? Is there an easier, simpler, dumber, lazier way to start Jenkins? Follow Convention-over-Configuration and give me one-click pre-configured installation.
Install Jenkins Plugins
Install the required plugins in Jenkins.
- If your Java project is built using Maven, then you need to configure Maven in Jenkins. Click on
Manage Jenkins,Global Tool Configuration,Maven installations, and specify the location of Maven.
Name the tool asMaven3as that is the name used in the configuration later.Again a bit lame, why can’t Jenkins pick up the default location of Maven instead of expecting the user to specify a location. - Click on
Manage Jenkins,Manage Plugins,Availabletab, search fordocker pipe. SelectCloudBees Docker Pipeline, click onInstall without restart.
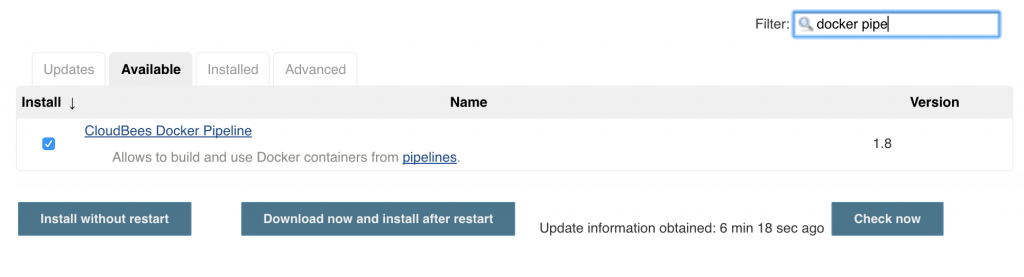
Click onInstall without restart.Docker Pipeline Plugin plugin understands the Jenkinsfile and executes the commands listed there. - Next screen shows the list of plugins that are installed:
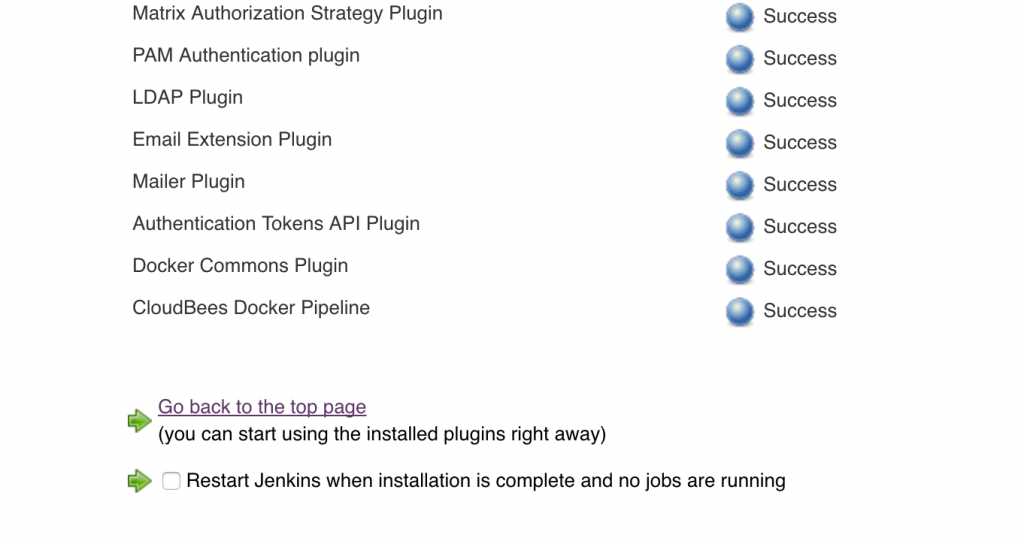
The last line shows that CloudBees Docker Pipeline plugin is installed successfully. SelectRestart Jenkinscheckbox. This will install restart Jenkins as well.
Create Jenkins Job
Let’s create a job in Jenkins that will run the pipeline.
- After Jenkins restarts, it shows the login screen. Enter the username and password created earlier. This brings you back to
Installing Plugins/Upgradespage. Click on the Jenkins icon in the top left corner to see the main dashboard: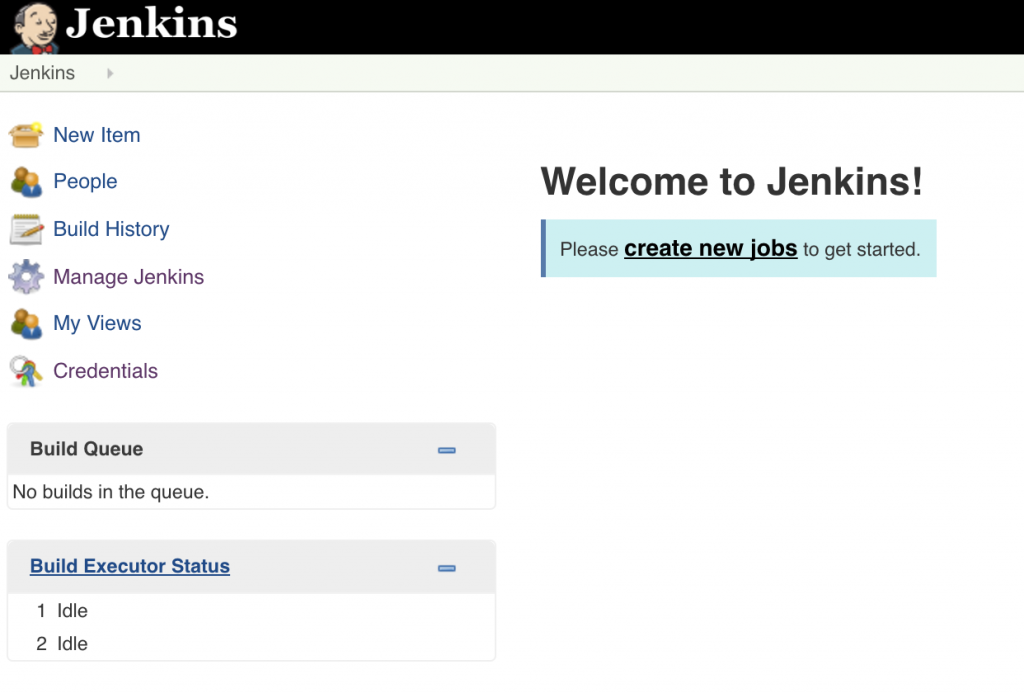
- Click on
create new jobs, give the name asdocker-jenkins-pipelineand choose the type as Pipeline: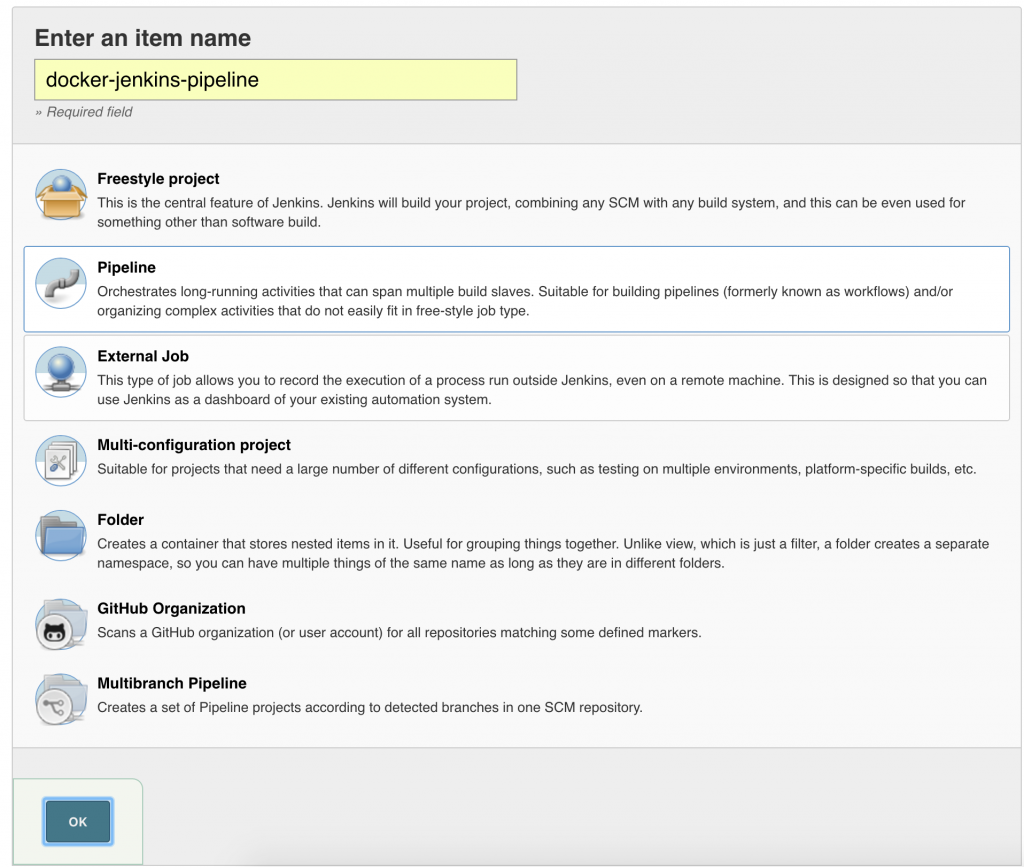 Click on OK.
 - Configure Pipeline as shown:
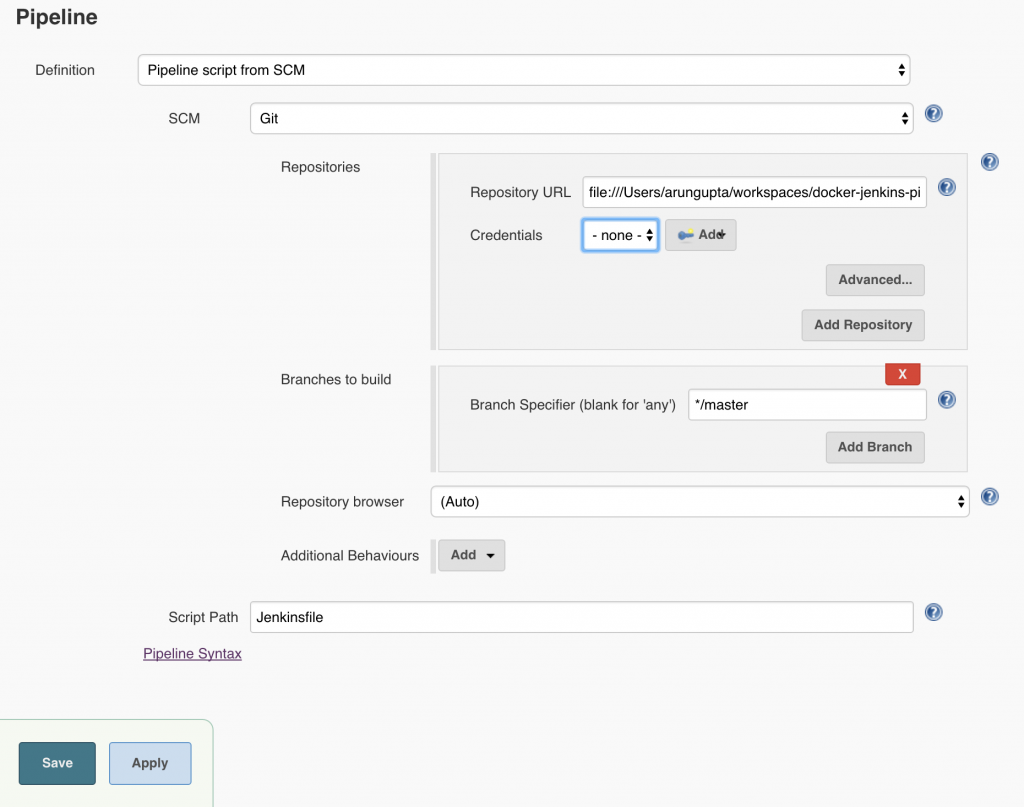 Local git repo is used in this case. You can certainly choose a repo hosted on github. Further, this repo can be configured with a git hook or poll at a constant interval to trigger the pipeline.Click on
 Saveto save the configuration.
Run Jenkins Build
Before you start the job, Couchbase database need to be explicitly started as:
|
1
2
3
|
docker run -d --name db -p 8091-8093:8091-8093 -p 11210:11210 arungupta/oreilly-couchbase:latest
|
This will be resolved after #9 is fixed. Make sure you can access Couchbase at http://localhost:8091, use Administrator as the login and password as the password. Click on Data Buckets tab and see the books bucket created.

Click on Build Now and you should see an output similar to:

All green is good!
Let’s try to understand what happened behind the scene.
Jenkinsfile describes how the pipeline is built. At the top level, it has four stages – Package, Create Docker Image, Run Application and Run Tests. Each stage is shown as a box in Jenkins dashboard. Total time taken for each stage is shown in the box.
Let’s understand what happens in each stage.
- Package – Application source code lives in the
webappdirectory. Maven commandmvn clean package -DskipTestsis used to create a JAR file of the application. Note that the maven project also includes the tests and are explicitly skipped using-DskipTests. Typically, tests would be in a separate downstream project.Maven project creates a far JAR file of the application and includes all the dependencies. - Create Docker Image – Docker image of the application is built using the Dockerfile in the
webappdirectory. The image simply includes the fat JAR and runs it usingjava -jar.Each image is tagged with the build number using${env.BUILD_NUMBER}. - Run Application – Running the application involves running the application Docker container.IP address of the database container is identified using the
docker inspectcommand.The database container and the application container are both running in the defaultbridgenetwork. This allows the two containers to communicate with each other. Another enhancement would be to run the pipeline in a swarm mode cluster. This would require to create and use anoverlaynetwork. - Run Tests – Tests are run against the container using the
mvn testcommand. If the tests pass the image is pushed to Docker Hub. The test results are captured either way.This stage also shows the usage oftry/catch/finallyblock in Jenkinsfile.If the tests pass then the image is pushed to Docker Hub. In this case, it is available at hub.docker.com/r/arungupta/docker-jenkins-pipeline/tags/.
Some TODOs …
- Move the tests to a downstream project (#7)
- Use Git hook or poll to trigger pipeline (#8)
- Automate database startup/shutdown (#9)
- Run pipeline in a cluster of Docker Engines with Swarm mode (#10)
- Show alternate configuration to push image to bintray (#11)
Another pain point is that global variables syntax does not seem to be documented anywhere. It is only available at <JENKINS-HOST>:<JENKINS-PORT>/job/docker-jenkins-pipeline/pipeline-syntax/globals. This is again slightly lame!
“not impossible, just not implemented yet” #sadpanda
Some further references to read:
- Getting Started with the Jenkinsfile
- CloudBees Docker Pipeline Plugin
- CloudBees Docker Pipeline Plugin User Guide
- Jenkinsfile DSL Reference
- Jenkins Pipeline Talk from JavaZone 2016
More information about Couchbase:
- Couchbase Developer Portal
- Couchbase Forums
- @couchbasedev or @couchbase
Feel free to file bugs at github.com/arun-gupta/docker-jenkins-pipeline/issues or send PR.
Source: blog.couchbase.com/2016/september/deployment-pipeline-docker-jenkins-java-couchbase

