This blog has explained a few Serverless concepts with code samples:
- Serverless FaaS with AWS Lambda and Java
- AWS IoT Button, Lambda and Couchbase
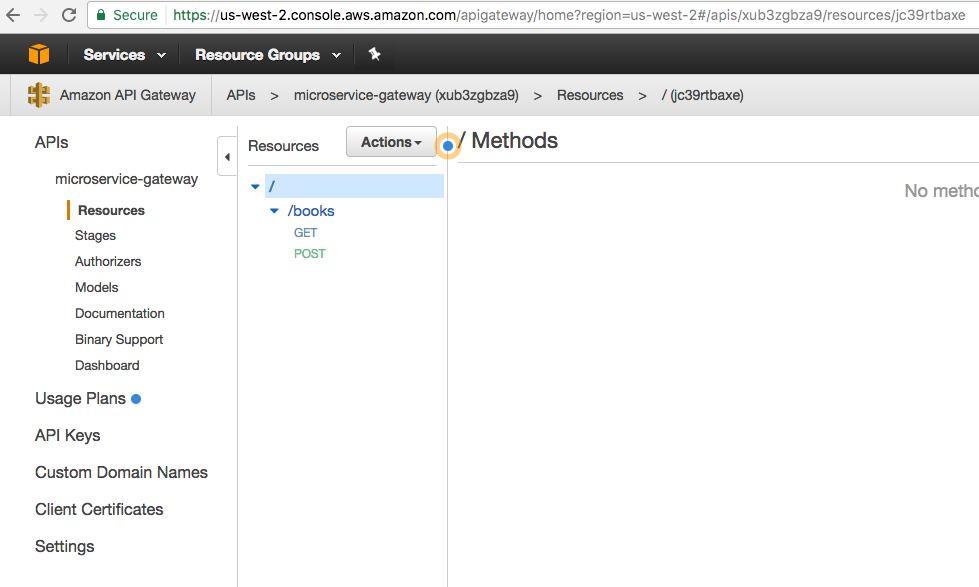
- Microservice using AWS API Gateway, AWS Lambda and Couchbase
- Microservice using AWS Serverless Application Model and Couchbase
This particular blog entry will show how to use AWS Lambda to store tweets of a tweeter in Couchbase. Here are the high level components:

The key concepts are:
- Lambda Function deployed using Serverless Application Model
- Triggered every 3 hours using Scheduled Events
- Uses Twitter4J API to query new tweets since the last fetch
- Use Couchbase Java SDK API to store JSON documents in the Couchbase Server
Complete sample code for this blog is available at github.com/arun-gupta/twitter-n1ql.
Serverless Application Model
Serverless Application Model, or SAM, defines simplified syntax for expressing serverless resources. SAM extends AWS CloudFormation to add support for API Gateway, AWS Lambda and Amazon DynamoDB. Read more details in Microservice using AWS Serverless Application Model and Couchbase.
For our application, SAM template is available at github.com/arun-gupta/twitter-n1ql/blob/master/template-example.yml and shown below:
|
1
2
3
4
5
6
7
8
9
10
11
12
13
14
15
16
17
18
19
20
21
22
23
24
|
AWSTemplateFormatVersion : '2010-09-09'
Transform: AWS::Serverless-2016-10-31
Description: Twitter Feed Analysis using Couchbase/N1QL
Resources:
TrumpFeed:
Type: AWS::Serverless::Function
Properties:
Handler: org.sample.twitter.TwitterRequestHandler
Runtime: java8
CodeUri: s3://arungupta.me/twitter-feed-1.0-SNAPSHOT.jar
Timeout: 30
MemorySize: 1024
Environment:
Variables:
COUCHBASE_HOST: <value>
COUCHBASE_BUCKET_PASSWORD: <value>
Role: arn:aws:iam::598307997273:role/microserviceRole
Events:
Timer:
Type: Schedule
Properties:
Schedule: rate(3 hours)
|
What do we see here?
- Function is packaged and available in a S3 bucket
- Handler class is
org.sample.twittter.TwitterRequestHandlerand is at github.com/arun-gupta/twitter-n1ql/blob/master/twitter-feed/src/main/java/org/sample/twitter/TwitterRequestHandler.java. It looks like:
By default, this class reads the twitter handle of Donald Trump. More fun on that coming in a subsequent blog.123456789101112131415public class TwitterRequestHandler implements RequestHandler<Request, String> {@Overridepublic String handleRequest(Request request, Context context) {if (request.getName() == null)request.setName("realDonaldTrump");int tweets = new TwitterFeed().readFeed(request.getName());return "Updated " + tweets + " tweets for " + request.getName() + "!";}} COUCHBASE_HOSTandCOUCHBASE_BUCKET_PASSWORDare environment variables that provide EC2 host where Couchbase database is running and the password of the bucket.- Function can be triggered by different events. In our case, this is triggered every three hours. More details about the expression used here are at Schedule Expressions Using Rate or Cron.
Fetching Tweets using Twitter4J
Tweets are read using Twitter4J API. It is an unofficial Twitter API that provides a Java abstraction over Twitter REST API. Here is a simple example:
|
1
2
3
4
5
|
Twitter twitter = getTwitter();
Paging paging = new Paging(page, count, sinceId);
List<Status> list = twitter.getUserTimeline(user, paging);
|
Twitter4J Docs and Javadocs are pretty comprehensive.
Twitter API allows to read only last 200 tweets. Lambda function is invoked every 3 hours. The tweet frequency of @realDonaldTrump is not 200 every 3 hours, at least yet. If it does reach that dangerous level then we can adjust the rate to trigger Lambda function more frequently.
JSON representation of each tweet is stored in Couchbase server using Couchbase Java SDK. AWS Lambda supports Node, Python and C#. And so you can use Couchbase Node SDK, Couchbase Python SDK or Couchbase .NET SDK to write these functions as well.
Twitter4J API allows to fetch tweets since the id of a particular tweet. This allows to ensure that duplicate tweets are not fetched. This requires us to sort all tweets in a particular order and then pick the id of the most recent tweet. This was solved using the simple N1QL query:
|
1
2
3
|
SELECT id FROM twitter ORDER BY id DESC LIMIT 1
|
The syntax is very SQL-like. More on this in a subsequent blog.
Store Tweets in Couchbase
The final item is to store the retrieved tweets in Couchbase.
Value of COUCHABSE_HOST environment variable is used to connect to the Couchbase instance. The value of COUCHBASE_BUCKET_PASSWORD environment variable is to connect to the secure bucket where all JSON documents are stored. Its very critical that the bucket be password protected and not directly specified in the source code. More on this in a subsequent blog.
The JSON document is upserted (insert or update) in Couchbase using the Couchbase Java API:
|
1
2
3
|
bucket.upsert(jsonDocument);
|
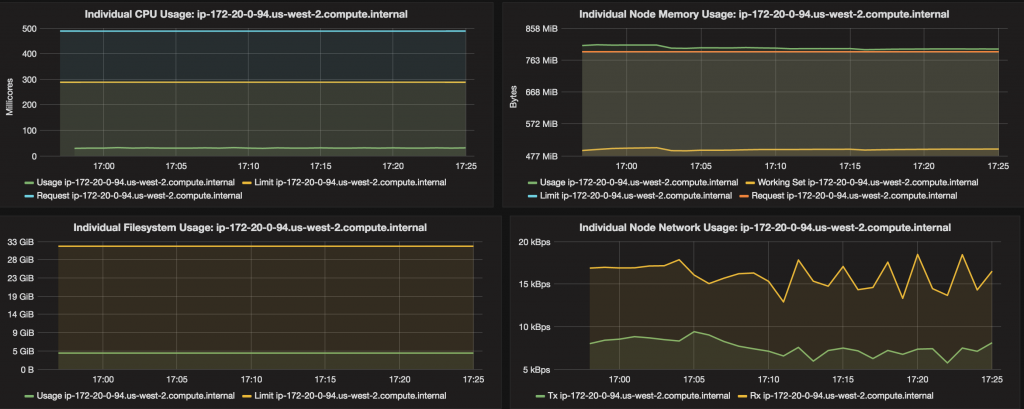
This Lambda Function has been running for a few days now and has captured 258 tweets from @realDonaldTrump.

An interesting analysis of his tweets is coming shortly!
Talk to us:
- Couchbase Forums
- Couchbase Database Developer Portal
- @couchbasedev and @couchbase
Complete sample code for this blog is available at github.com/arun-gupta/twitter-n1ql.
Source: https://blog.couchbase.com/2017/january/aws-serverless-lambda-scheduled-events-tweets-couchbase


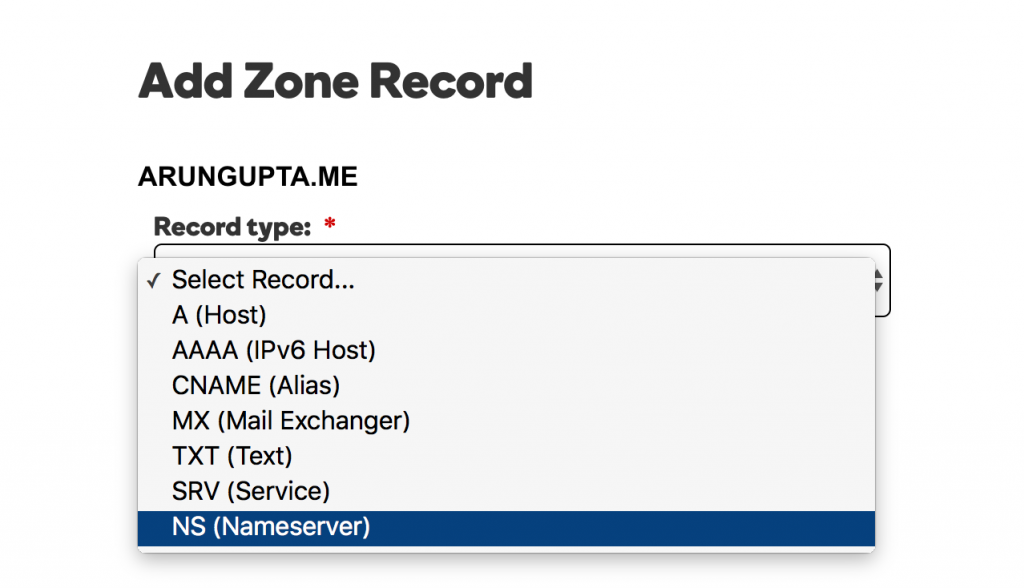 For each value, add the record as shown:


