This Tip Of The Day explains how to expose an existing Oracle database table as a RESTful Web service endpoint using NetBeans tooling and deployed on GlassFish.
Lets get started!
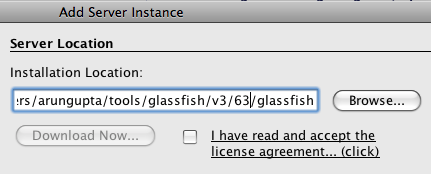
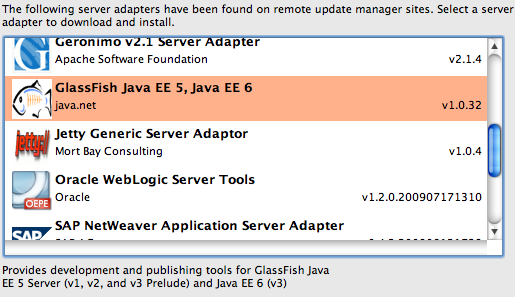
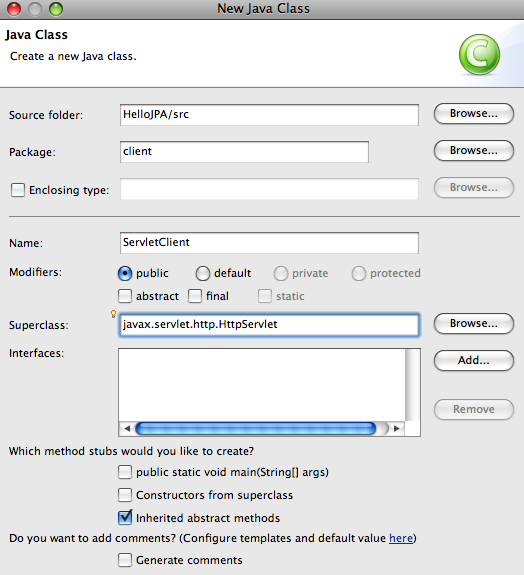
- Configure GlassFish v3 10/7 or a later nightly in a recent NetBeans 6.8 build (latest nightly). As issue# 9885 is fixed, so copy ojdbc6.jar in the "domains/domain1/lib/ext" directory.
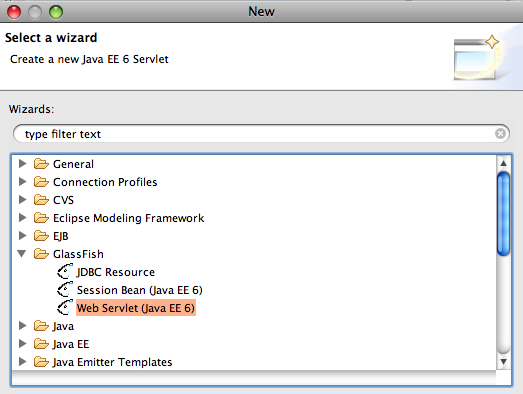
- Create a Web application
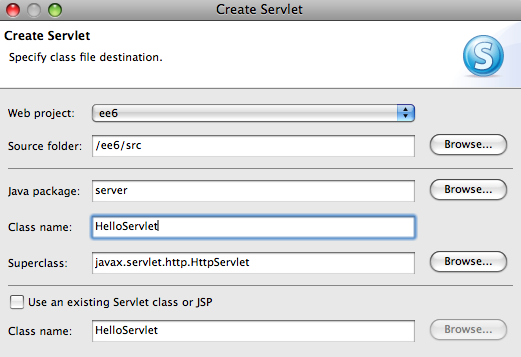
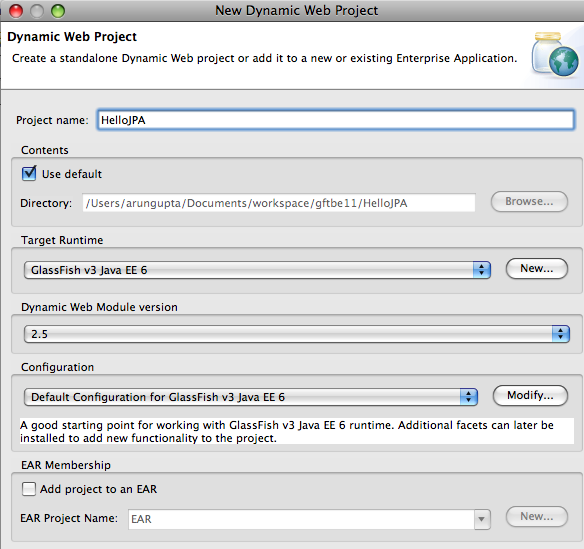
- Create a new "Web application" and name the project "RestfulOracle":
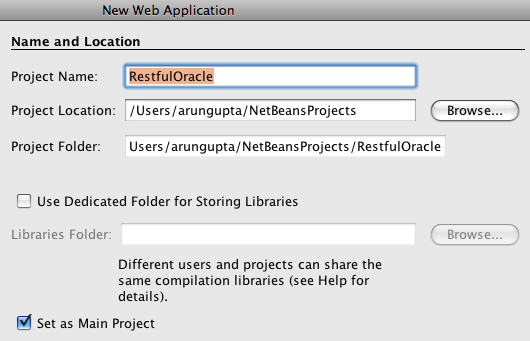
click on "Next >".
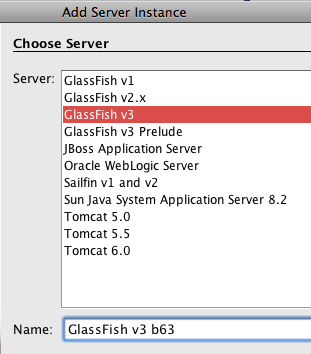
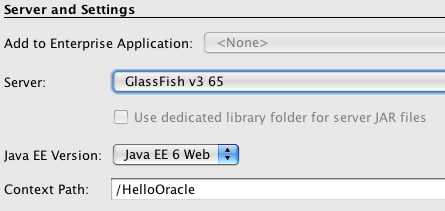
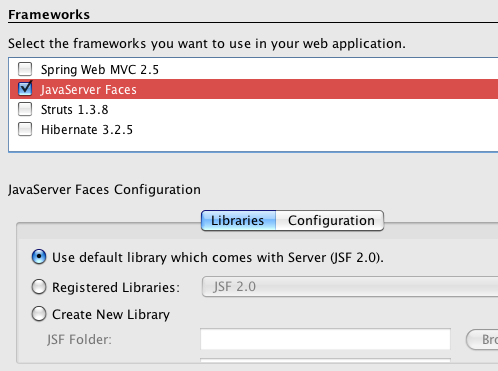
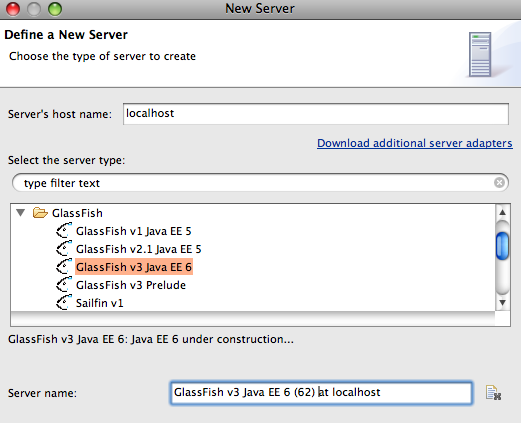
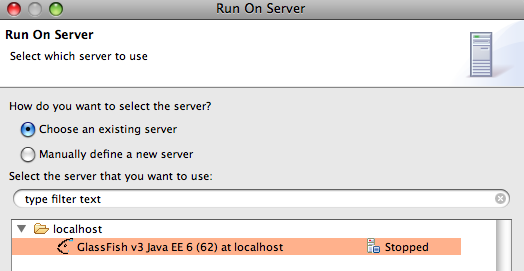
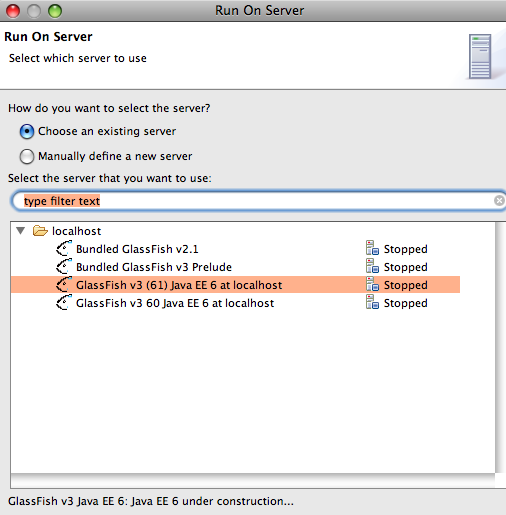
- Choose the newly added server and "Java EE 6 Web" as the Java EE version:
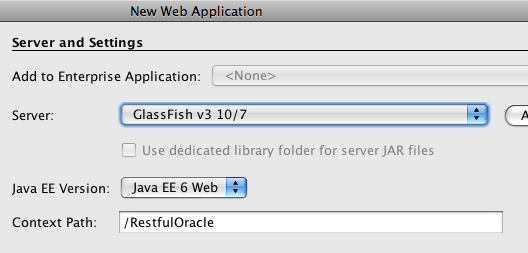
and click on "Finish".
- Create a new "Web application" and name the project "RestfulOracle":
- Create JPA entities for "HR" schema. The steps outlined below uses NetBeans solely for creating the JPA entities. Alternatively, TOTD #108 explains how to define a JDBC connection pool and JDBC resource using "asadmin" CLI and then use that resource from within NetBeans. Either way, the JDBC resource is stored in the underlying "domain.xml".
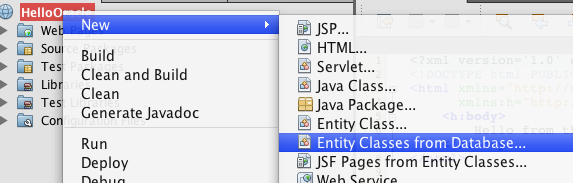
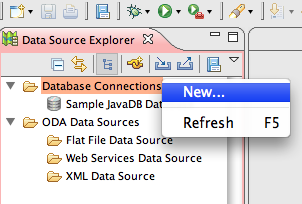
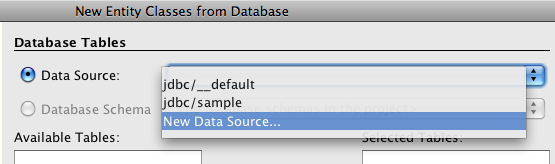
- Right-click on the project and select "New", "Entity Classes from Database…".
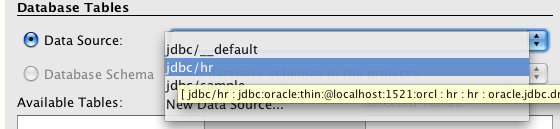
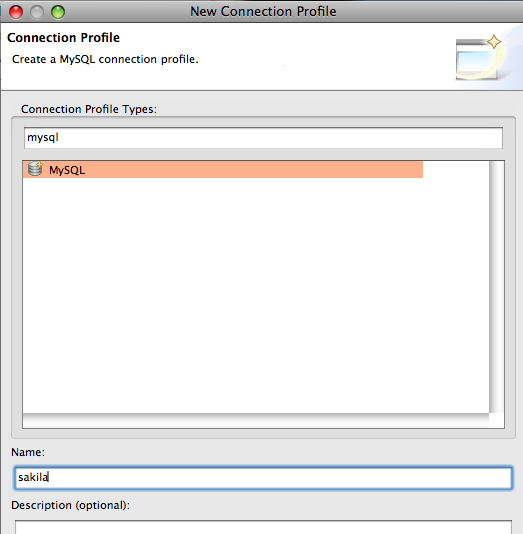
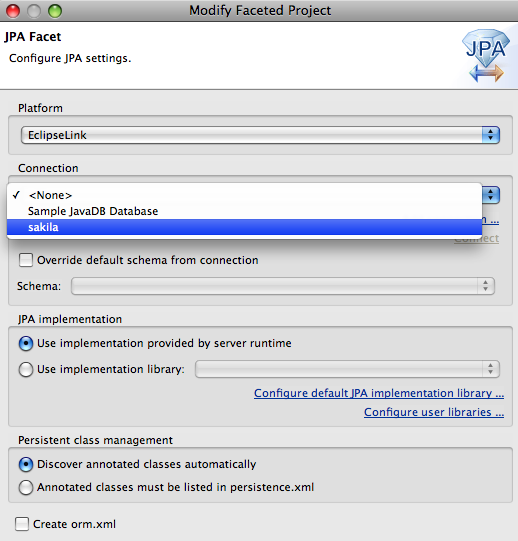
- In "Data Source:" select "New Data Source…" as shown below:
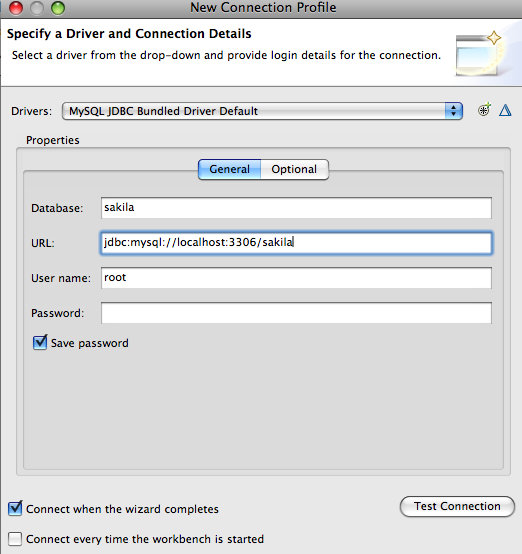
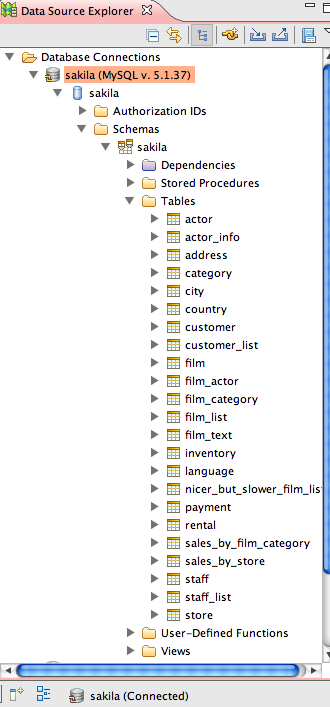
- Specify the JNDI name as "jdbc/hr" and choose the pre-configured database connection as shown below:
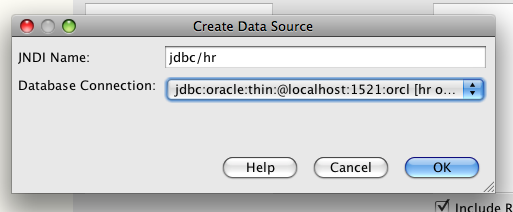
TOTD #107 explains how to configure Oracle database in NetBeans.
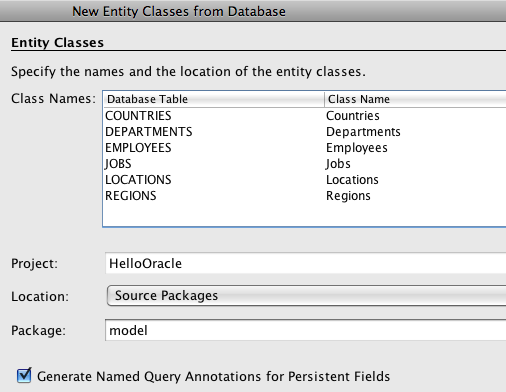
- In the list of "Available Tables:", select "EMPLOYEES" and click on "Add >" to see the following:
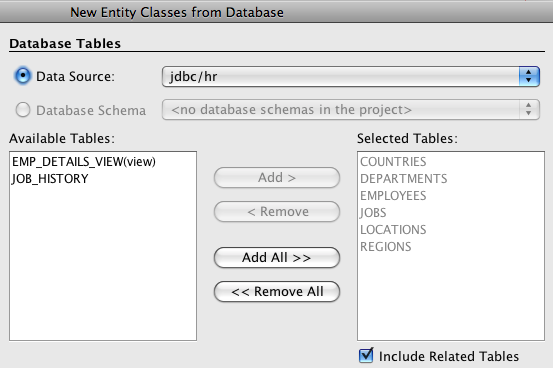
Notice the list of related tables are included as well. Click on "Next >".
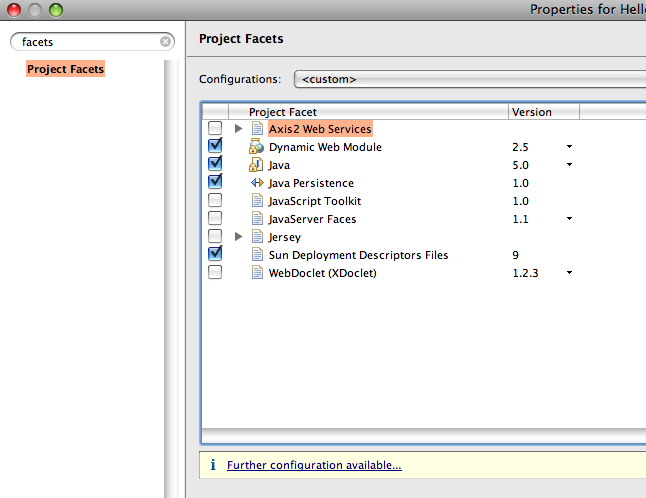
- Specify the package name as "model".
- Click on "Create Persistence Unit…", take the defaults, and click on "Create":
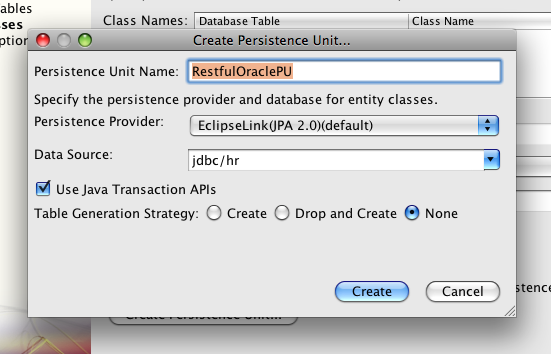
and click on "Finish". Notice EclipseLink, the reference implementation for JPA 2.0, is used as the persistence provider. This generates POJOs that provide database access using JPA 2.0 APIs. These APIs are included as part of the Java EE 6 platform.
- Create RESTful entities
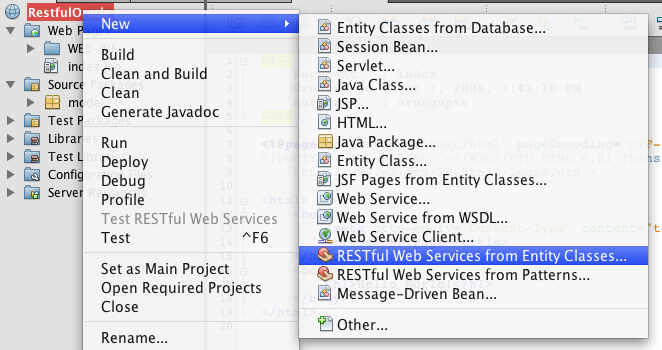
- Right-click on the project and select "RESTful Web Services from Entity Classes…":
- Select "Employees (model.Employees)" from "Available Entity Classes:" and click on "Add >" to see the following:
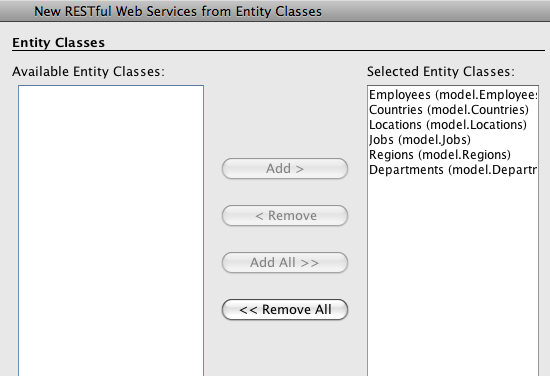
click on "Next >", take the defaults, and click on "Finish". This generates a bunch of wrapper classes using JAX-RS to expose the JPA Entity classes as RESTful Web services. JAX-RS 1.1 is also included as part of the Java EE 6 platform.
- Right-click on the project and select "RESTful Web Services from Entity Classes…":
- Run the Web service
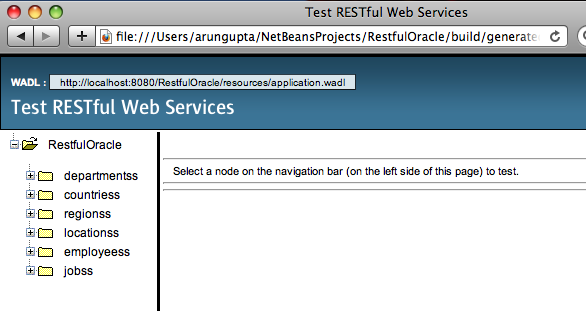
- Right-click the project and select "Test RESTful Web Services":

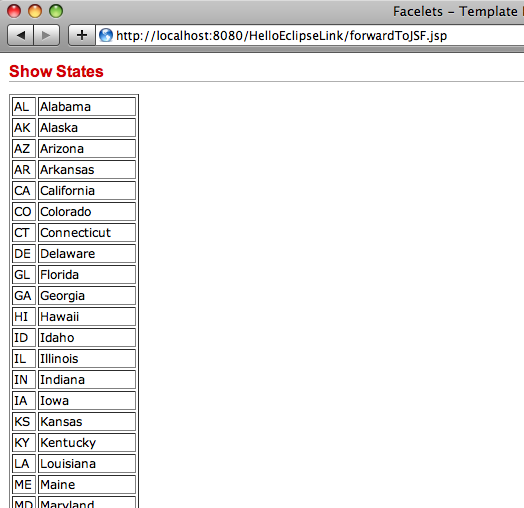
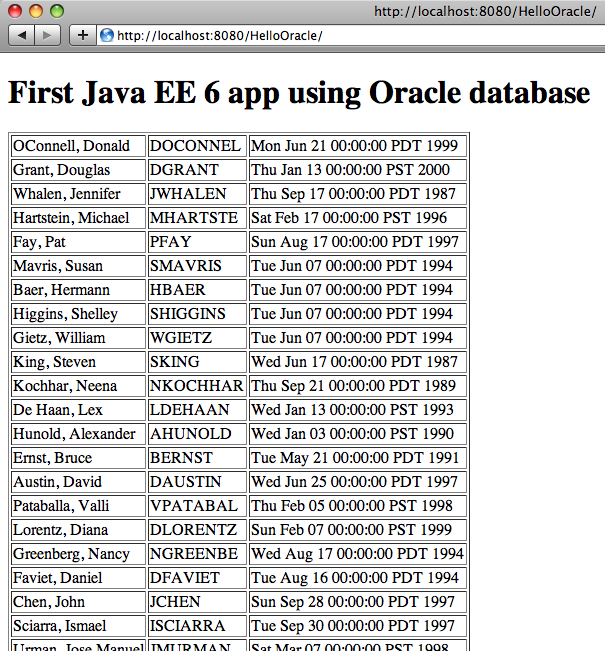
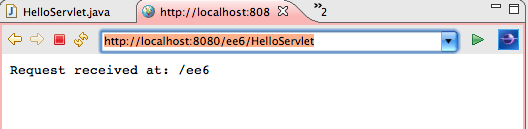
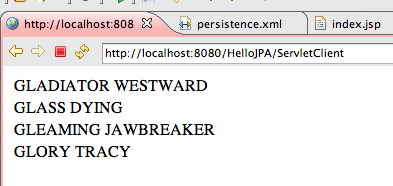
This deploys the created Web application on the selected GlassFish build and displays the following page in the default browser:
- Click on "deparmentss" and then on "Test" button to see the output as:
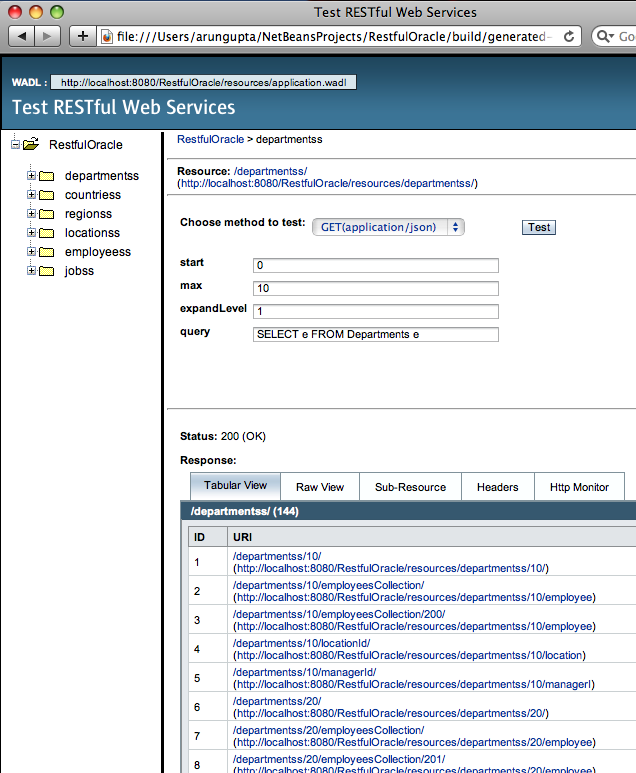
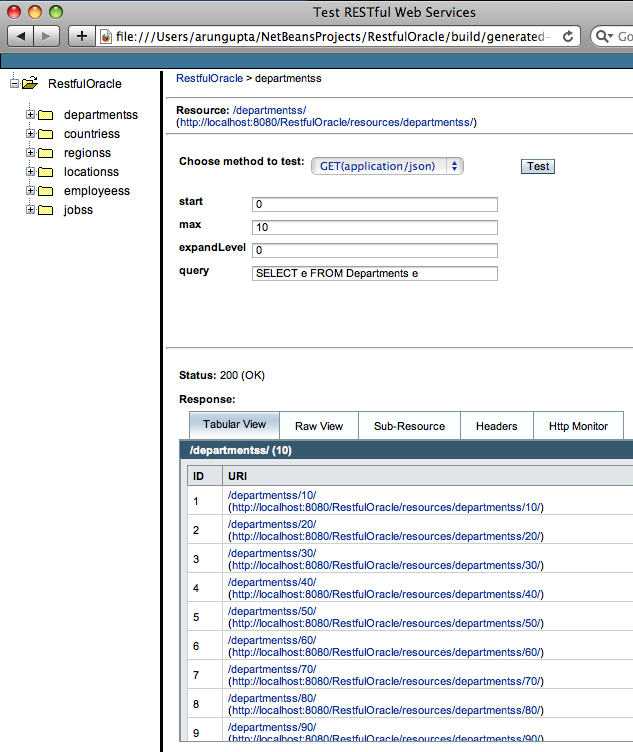
Clicking the "Test" button issues a GET request to "http://localhost:8080/RestfulOracle/resources/departmentss". This uses the generated JAX-RS wrapper classes to talk to the database using JPA entity classes and query the first 10 rows from the "DEPARTMENTS" table. The response is then JSON formatted using JAX-RS wrapper classes and is returned to the requesting page which then displays it nicely formatted in the table. It also shows l-level deep department’s relationship to other entities. If the "expandLevel" on the above page is set to "0", then the following output is shown:
The "Raw View" (JSON data) of the original output looks like:
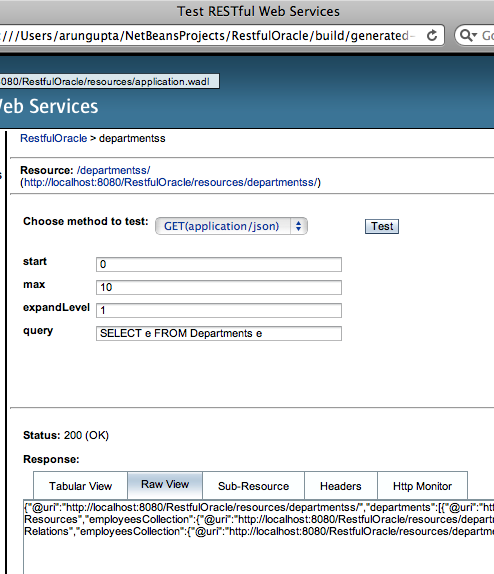
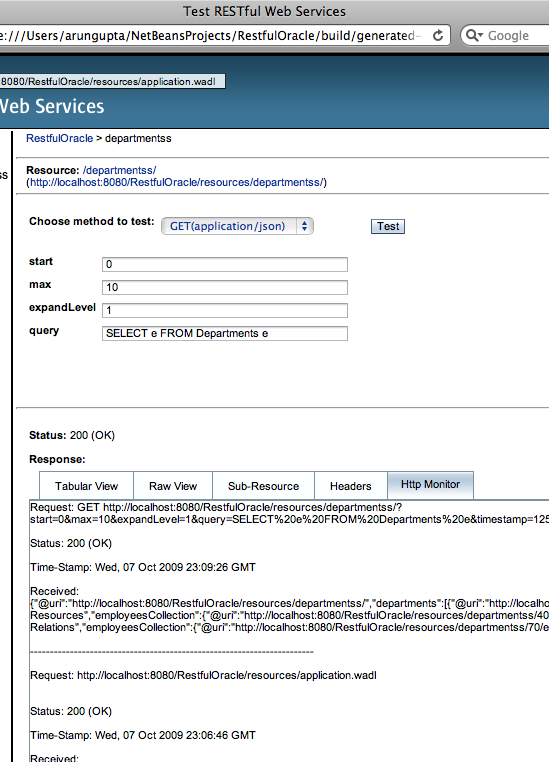
Notice this is the raw JSON output generated by the JAX-RS wrapper classes. The "Http Monitor" traffic looks like:
The format of data returned can be changed from "application/json" to "application/xml" as shown below:
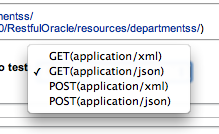
And even a POST request can be generated.
- Right-click the project and select "Test RESTful Web Services":
Do you have the need to expose your Oracle database tables as RESTful entities ?
A complete archive of all the TOTDs is available here.
This and other similar applications will be demonstrated at the upcoming Oracle Open World.
Technorati: totd oracle database glassfish v3 netbeans javaee jax-rs jpa rest