
Tech Tip #25 showed how to configure WildFly on Raspberry Pi. Tech Tip #27 showed how to setup WildFly on two Raspberry Pis in managed domain mode. This tech tip will show how to setup a WildFly cluster over those two hosts.
WildFly supports mod_cluster out of the box. There are several advantages of mod_cluster:
- Dynamic configuration of httpd workers
- Server-side load balance factor calculation
- Fine-grained web app lifecycle control
However there is no ARM build available for it, yet. So we’ll use mod_proxy instead that gets pre-installed as part of Apache2. The Domain Controller and HTTP server need not be on the same host and that’s the configuration we’ll use for our setup. So effectively, there will be three Raspberry Pis:
- Domain Controller
- Host Controller
- Web Server

Lets get started!
- Before installing any modules, including Apache, on Raspbian, the system needs to be fully updated:
pi@raspberrypi~ $ sudo apt-get update && sudo apt-get upgrade
Get:1 http://reflection.oss.ou.edu wheezy Release.gpg [490 B]
Hit http://repository.wolfram.com stable Release.gpg
Hit http://repository.wolfram.com stable Release
Get:2 http://reflection.oss.ou.edu wheezy Release [14.4 kB]
Get:3 http://raspberrypi.collabora.com wheezy Release.gpg [836 B]
Get:4 http://archive.raspberrypi.org wheezy Release.gpg [490 B]

. . .

Setting up udisks (1.0.4-7wheezy1) ...
Setting up rpi-update (20140321) ...
Setting up ssh (1:6.0p1-4+deb7u1) ...
Setting up perl-modules (5.14.2-21+rpi2+deb7u1) ...
Setting up perl (5.14.2-21+rpi2+deb7u1) ...
Setting up libdpkg-perl (1.16.14+rpi1) ...
Setting up dpkg-dev (1.16.14+rpi1) ...
Processing triggers for menu ...
Trying to install Apache without updating the system will give weird errors:
Err http://mirrordirector.raspbian.org/raspbian/ wheezy/main apache2.2-bin armhf 2.2.22-13
404  Not Found
Err http://mirrordirector.raspbian.org/raspbian/ wheezy/main apache2-utils armhf 2.2.22-13
404  Not Found
Err http://mirrordirector.raspbian.org/raspbian/ wheezy/main apache2.2-common armhf 2.2.22-13
404  Not Found
Err http://mirrordirector.raspbian.org/raspbian/ wheezy/main apache2-mpm-worker armhf 2.2.22-13
404  Not Found
Err http://mirrordirector.raspbian.org/raspbian/ wheezy/main apache2 armhf 2.2.22-13
404  Not Found
Now install Apache HTTP as:
pi@raspberrypi /~ $ sudo apt-get install apache2
Reading package lists... Done
Building dependency tree
Reading state information... Done
The following extra packages will be installed:
apache2-mpm-worker apache2-utils apache2.2-bin apache2.2-common libapr1 libaprutil1 libaprutil1-dbd-sqlite3 libaprutil1-ldap ssl-cert
Suggested packages:
apache2-doc apache2-suexec apache2-suexec-custom openssl-blacklist
The following NEW packages will be installed:
apache2 apache2-mpm-worker apache2-utils apache2.2-bin apache2.2-common libapr1 libaprutil1 libaprutil1-dbd-sqlite3 libaprutil1-ldap ssl-cert
0 upgraded, 10 newly installed, 0 to remove and 1 not upgraded.
Need to get 1,352 kB of archives.
After this operation, 4,916 kB of additional disk space will be used.
Do you want to continue [Y/n]? y
Get:1 http://mirrordirector.raspbian.org/raspbian/ wheezy/main libapr1 armhf 1.4.6-3+deb7u1 [90.9 kB]
Get:2 http://mirrordirector.raspbian.org/raspbian/ wheezy/main libaprutil1 armhf 1.4.1-3 [77.1 kB]

. . .

Setting up apache2-mpm-worker (2.2.22-13+deb7u1) ...
[....] Starting web server: apache2apache2: Could not reliably determine the server's fully qualified domain name, using 127.0.1.1 for ServerName
. ok
Setting up apache2 (2.2.22-13+deb7u1) ...
Setting up ssl-cert (1.0.32) ...
The log messages show that server’s name could not be determined, and 127.0.1.1 is instead used for ServerName. This can be fixed by editing “/etc/apache2/apache2.conf” and adding the following line:
ServerName localhost
- After Apache is installed, “mod_proxy” modules already exists in the “/usr/lib/apache2/modules” directory, and just need to enabled.Create “/etc/apache2/mods-enabled/mod_proxy.load” as:
LoadModule proxy_module /usr/lib/apache2/modules/mod_proxy.so
LoadModule proxy_balancer_module /usr/lib/apache2/modules/mod_proxy_balancer.so
LoadModule proxy_http_module /usr/lib/apache2/modules/mod_proxy_http.so
LoadModule headers_module /usr/lib/apache2/modules/mod_headers.so
This file will be picked up via a direcinve in “/etc/apache2/apache2.conf”.
Restart the server:
sudo service apache2 restart
If there are any errors, then you can see them in “/var/log/apache2/error.log” directory.
The list of modules loaded can be seen using:
~ /apachectl -t -D DUMP_MODULES
Loaded Modules:
core_module (static)
log_config_module (static)
logio_module (static)
version_module (static)
mpm_worker_module (static)
http_module (static)
so_module (static)
alias_module (shared)
auth_basic_module (shared)
authn_file_module (shared)
authz_default_module (shared)
authz_groupfile_module (shared)
authz_host_module (shared)
authz_user_module (shared)
autoindex_module (shared)
cgid_module (shared)
deflate_module (shared)
dir_module (shared)
env_module (shared)
mime_module (shared)
proxy_module (shared)
proxy_balancer_module (shared)
proxy_http_module (shared)
headers_module (shared)
negotiation_module (shared)
reqtimeout_module (shared)
setenvif_module (shared)
status_module (shared)
Syntax OK
The newly loaded modules are highlighted in bold.
- Provide convenient host names for each of the Raspberry Pis. The names chosen for each host is shown in the table below:
IP Address Role Host Name 10.0.0.27 Domain Controller raspi-master 10.0.0.28 Host Controller raspi-slave 10.0.0.29 Web Server raspi-apache This is enabled by editing “/etc/hostname” on each Raspberry Pi and changing “raspberrypi” to the given name.
In addition, “/etc/hosts” on each Raspberry Pi need to make two entries of the following format:
127.0.0.1           <Host Name>
<IP Address>        <Host Name>
Here <IP Address> and <Host Name> for each host needs to be used from the table above.
Finally, added the following entries on “/etc/hosts” on my local Mac:
10.0.0.27       raspi-master.example.com
10.0.0.28       raspi-slave.example.com
10.0.0.29       raspi-apache.example.com
This ensures that any cookies are set from the same domain.
Flush the DNS using:
sudo dscacheutil -flushcache
Now raspi-master.example.com:8330 in the browser shows:
And similarly raspi-slave.example.com:8330 shows:
- Configure mod_proxy load balancer by editing “/etc/apache2/apache2.conf” and add the following lines at the end of the file:
Header add Set-Cookie "ROUTEID=.%{BALANCER_WORKER_ROUTE}e; path=/" env=BALANCER_ROUTE_CHANGED
<Proxy balancer://raspicluster>
BalancerMember http://10.0.0.27:8330
BalancerMember http://10.0.0.28:8330
ProxySet stickysession=ROUTEID
</Proxy>
ProxyPass / balancer://raspicluster/
This directive provide load balancing between “master” and “slave”. “Header” and “ProxySet” directive provides sticky session.


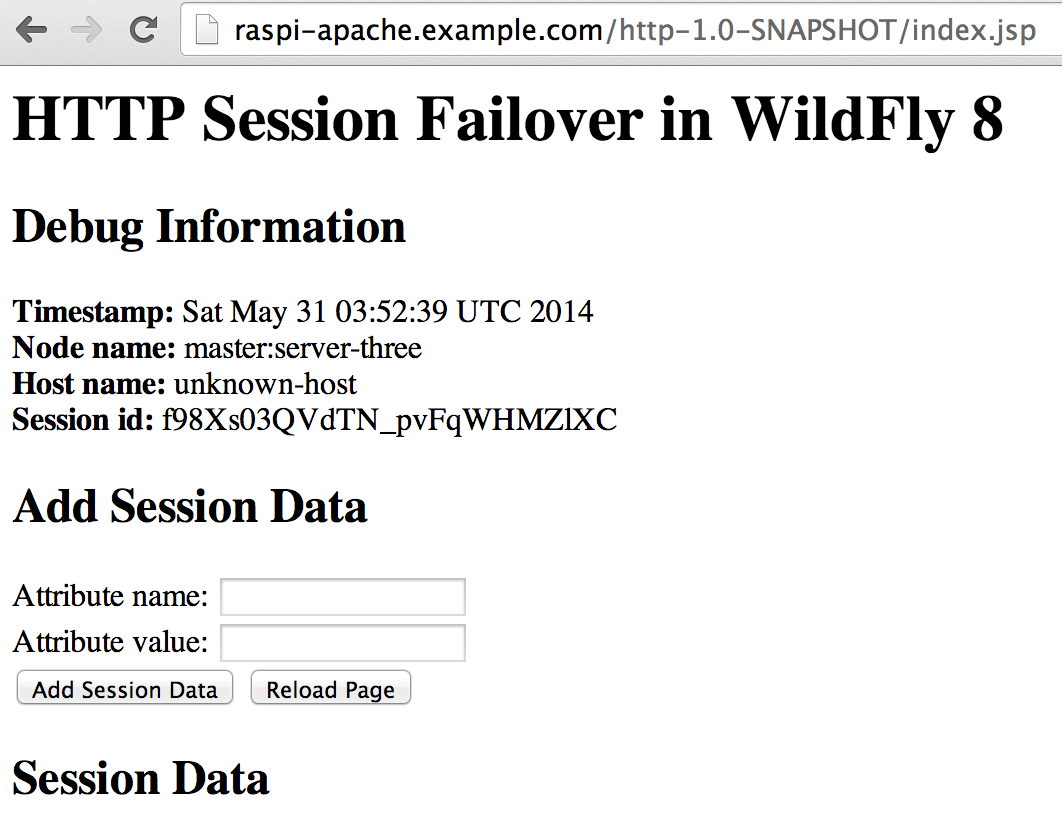
Now accessing raspi-apache.example.com/http-1.0-SNAPSHOT/index.jsp shows:
And so in three parts (part 1 and part 2), we learned how to setup a WildFly cluster on Raspberry Pi!


- Tweet
-


Thanks for the tutorial.
When you have a server running the same static addres all the time you should change the address 127.0.1.1 in /etc/hosts to your machines proper IPv4 address.
To change the name of the machine you change raspberrypi in /etc/hosts and /etc/hostname and maybe in /etc/mailname to the new name.
To enable (and disable) sites and modules in apache2 you can/should use a2ensite and a2disite resp a2ensmod and a2dismod. See man pages.
To set up sites, you copy /etc/apache2/sites-available/000-default.conf to /etc/apache2/sites-available/name.conf and edit it and run a2ensite name.